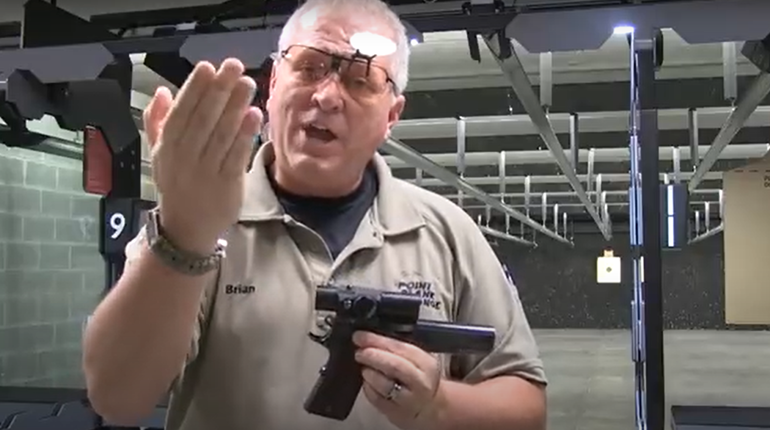
Go to any class or observe anyone teaching anyone else to shoot and you’re likely to hear “Quit slapping the trigger!” or “Don’t jerk the trigger.” While each of those statements constitute prudent advice, there’s more nuance to accuracy and putting bullets precisely where you want them on target. Shooting a handgun accurately is fairly simple, but it’s hard. The essential elements to achieving practical accuracy with a handgun are grip, sight picture/sight alignment and trigger management. Ultimately, we only miss shots for two reasons: One, because we improperly align our sights to the target, or two, because through our grip or trigger management we move the sights and bore away from the intended target during the execution of the shot. Today we examine how to optimize the handgun grip to get more accurate hits.
The Fundamentals Are Complementary
The important thing to understand is that the fundamental elements of grip, sights and trigger are not independent of one another, but are complementary in relation to one another. The better you are in one element, the less impact a mistake in another element will make on your accuracy. My general rule is this: For defensive shooting, if you perform “well enough” in two out of three elements for the required shot at hand, you’ll probably get good hits. If you only perform one or none of the essential elements “well enough,” you’re probably looking at misses. For example, if your grip is rock solid and your sight picture/alignment is really good, then slapping the trigger is unlikely to matter much in typical defensive shooting scenarios. Similarly, if you have a compromised grip for some reason, then your sight and trigger management need to be ideal to compensate.
Grip Is Paramount
Beginning our list of essential elements with grip is not an accident or random choice. I think that grip is the single most important aspect of shooting a handgun well particularly for practical defensive purposes. Like many people, I spent many years on the range and in classes attributing my misses to slapping or jerking the trigger, because I’d yet to understand the complementary nature of grip and trigger press. It is true that slapping or jerking the trigger can account for a miss, but there is some nuance to that point.
If you watch champion competitive shooters in USPSA or IDPA shoot in extreme slow motion, it becomes obvious that they are generally slapping the trigger like it stole something from their beloved grandmother. So why don’t they miss? If you ever meet any of these high-level shooters and shake their hand, you might notice their firm handshake. Elite shooters typically have excellent grip strength, from countless hours of practice shooting with an ironclad grip on the gun. When you lock a handgun down in a vice, the sights and muzzle will not be misaligned during a shot regardless of how hard you slap the trigger. Therefore, the goal is to make a vice out of our firing grip.
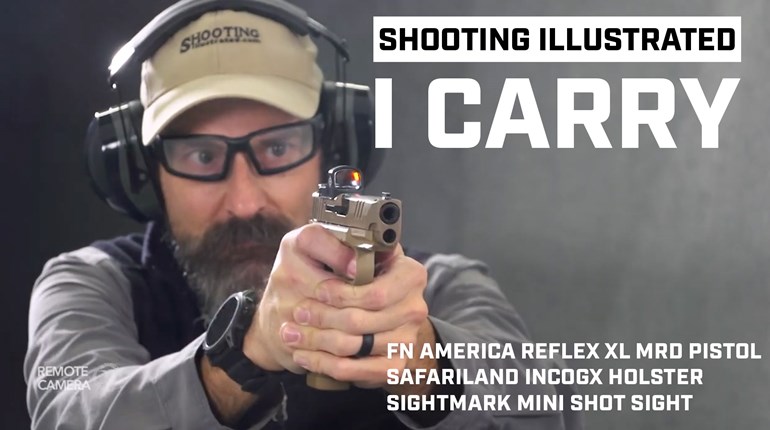
 For semi-automatic pistols I typically use and recommend the thumbs forward grip. For revolvers I use a thumb-over-thumb or crossed thumbs grip. Shooting Illustrated and other sources have a myriad of examples about how to achieve an ideal grip, and in addition to photos I’ll include a brief description here. The general principles are that a good grip involves getting as high up on the grip of the gun as possible, having as much “skin-to-gun” contact as possible with no big gaps between our hands and the gun and equal pressure on the grip of the gun from front to rear and left to right. Those broad strokes are simple enough, so let’s dive into the details.
Low And Left?
If you consistently shoot low and left (for right-handed shooters, low and right for lefties), that is often attributed to poor trigger press. That is sometimes the culprit, but it can also be a grip issue. This can be demonstrated via a simple exercise. Right now, take your dominant shooting hand and make a fist that is closed but relaxed, with your palm facing you. Then, tighten your fist up using approximately half your grip strength. Next, watch your fingers as you tighten your fist as hard as you can. Going from a half-clenched fist to a powerfully clenched fist, which fingers moved the most? Probably our pinky and ring fingers, right? This exposes the reason for a huge percentage of those low and left misses.
When we conduct live-fire range practice, our subconscious brain knows that when the trigger breaks there’s going to be a loud explosion in our hands. So if we are gripping the gun at say, 50 to 80 percent of our grip strength, our hands may involuntarily tighten up to 100 percent at the instant the trigger breaks the shot. If most of the movement going from 80 percent grip pressure to 100 percent occurs in the pinky and the ring fingers, these fingers are acting on the bottom end of the lever that is the handgun grip. That causes the muzzle to dip low when we add pressure to our shooting grip. We don’t notice this when we dry fire because our subconscious knows there isn’t going to be an explosion in our hands, and thus we produce now flinch response that results in crushing the grip and altering our muzzle. Unfortunately, we often see the results in live-fire practice.
The Ideal Grip
The way to avoid this is to present the gun and aim with a powerful grip already established on the gun. It doesn’t have to be literally 100 percent of your grip strength, but you’re better off gripping too hard than not hard enough. That way if your subconscious mind tries to tighten your grip as the shot breaks it’s got nowhere to go, and therefore no movement to disrupt your sights and muzzle as you break the shot. When I was a less experienced instructor and people would ask me how hard to grip a handgun, I’d tell them to grip it with increasing pressure until the sights began to tremble, then back off until they stopped. Now, I just tell them to humorously to grip the gun “harder.” For all but the most precise shots, a healthy, able-bodied shooter who is gripping the gun hard enough to make the sights tremble isn’t going to be making the front sight or red dot tremble so much that is it outside the acceptable target area.
Next time you’re at the range, find a target that is approximately 8 inches in diameter (the approximate size of the vital high torso area and at 5 to 7 yards really crush the gun with your two-handed grip and see if your sights stay entirely within that circle. I bet they do. If they don’t, then back your grip off just enough to where you can hold your sights within that circle and break the shot. That’s how hard you should be gripping the gun.
One of the protests I hear from more slightly built or older shooters is that they just simply don’t have that much grip strength. That is a real challenge, but there is a solution: Be efficient with the grip strength you do have. As mentioned above, the grip functions as a lever and we can exert the most force on a lever at the end of it. That means that our pinky fingers, located at the end of the lever, can exert the most force on the gun. When working to grip the gun hard, focus on getting good pinky pressure.
Dry Practice
It is also important to remember that is how hard you should be gripping the gun during dry practice. It’s easy during dry practice to get lazy with our grip, and then that lax grip will likely transfer over to our live practice. My rule for dry practice is that if I’ve been dry practicing for 5 to 10 minutes and I’m not fatigued, with tired wrists, hands, and forearms, and maybe even a little sweat, I’m probably being lazy with my grip.
While sight picture and sight alignment and trigger press are essential fundamentals of shooting a handgun accurately, the fine details of grip are perhaps the most neglected aspect and coincidentally, the most valuable. It takes some time and some repetition to get people to become truly good at trigger management. It also takes some time to teach people to see and evaluate their sight picture and sight alignment well, especially when shooting at speed. It is a fairly simple step to grip the gun harder, and more efficiently, and even the newest novice shooter can do that. Next time you go practice at the range, focus on your grip and crushing the grip of the gun (especially with your pinkies) before, during, and after the shot. You might be surprised at how much it helps.


