When it comes to shooting well, there are few training modalities better than breaking a skill set down to its component parts, developing proficiency and then plugging it back into the matrix. One such method is working your strong- and support-hand skills and then overlaying those skills back into your two-handed shooting.
Our drill this month isolates the dominant (strong) hand and the non-dominant (support) hand into developing rapid target acquisition, stability, alignment and recoil-management proficiency.
Here’s the Drill
At 10 yards, set up a steel “A-box” plate or a paper target with a designated center mass, primary-strike zone.
Support-Hand Stackup Drill – Part One
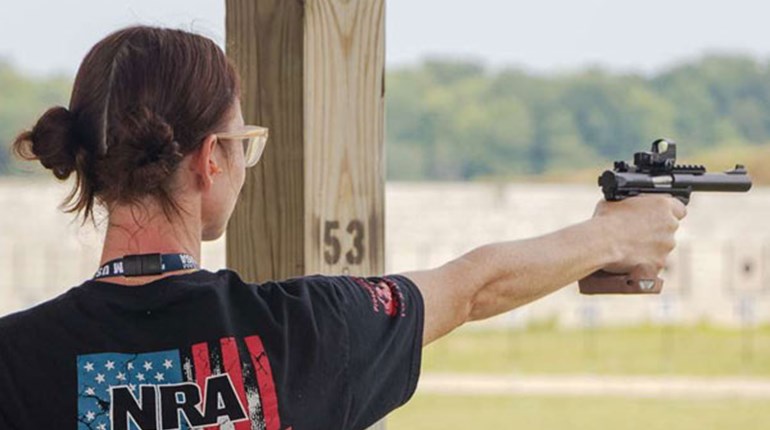
Starting with your support hand only, begin with the pistol drawn to the low-ready position aimed in at the base of the target (where the target base contacts the ground), with a firm grip and finger outside the trigger guard.
On the buzzer or go signal, move the muzzle from the target base to the visual center of your intended target and fire one round when your sights are aligned.
Your timing (purpose of the drill) should be to break the shot at the exact same time your sights align with the visual center of the target. Include follow-through after the shot by recovering (reset visually and mechanically) to visual center again after recoil. Once you can do this successfully four times in a row without error, you are then ready for part two.
Support-Hand Stackup Drill – Part Two
The second part of the Support-Hand Stackup Drill is to deliver, rather than a single shot, four consecutive shots from the low-ready position. If you are using a timer to record your shot times, you’ll want to work toward reducing your split times (times between breaking each shot) to as low as your skill level will allow that day.
Strong-Hand Stackup Drill – Part One
Moving on to your strong hand, start with your pistol holstered and both hands below your gun belt. Facing the target at the 10-yard line, on the buzzer or go signal present the pistol from your holster, stabilize the muzzle as you aim in at the visual center of your intended target and fire one round.
Just like the first drill, your timing (purpose of the drill) should be to break the shot at the precise time your sights align with the visual center of the target and to then recover back to visual center again after recoil. Once you can do this successfully four times in a row without error, then you are ready for part two.
Strong-Hand Stackup Drill – Part Two
The second part of the Strong-Hand Stackup Drill is, like with the weak-hand drill, to deliver four consecutive shots after drawing from the holster. If you are using a timer, you’ll want to work toward reducing your split times to as low as your skill level will allow that day.
Both single-hand stackup drills can be run from an open holster or from concealment and with or without a timer.
Remember, the objective of these nifty skill-builders is twofold: to develop your timing as to when the shot breaks and to reduce your split times.