The Problem:
You have managed to become a pretty good pistol shooter, but your groups—whether fired fast or slow—tend to favor the left of where you are aiming as a right-handed shooter. Often, the first shots hit closer to the center of your target, but as more shots are fired the hits tend to stray to the left of where you are aiming, forming an acceptable group, but not where intended on the target. You have moved your sights, but that hasn’t helped. What must you do to put all of the shots where they are supposed to go, from first shot to last?
The Solution:
This is a common problem, even for experienced shooters. It usually stems from inconsistencies in how the gun is gripped through the series of shots even though it is not readily recognized. The fact that you are able to shoot acceptable groups (albeit not exactly where you would like them to be) indicates the gun likely fits your hand and your trigger-finger placement on the trigger is at least adequate.
The first thing to do is to validate the sight settings on the gun are appropriate for the target and ammunition being used. An easy way to make that determination is to shoot a group (or two) with the left hand from a bench or preferably from the position being used with the right hand. Of course, that is assuming the ability to shoot an acceptable group left handed is within your capabilities. If the gun shoots to the same point-of-impact with both hands, it is time to move the sights. If the gun shoots to a different point-of-impact with either hand, the problem is likely the shooter rather than the equipment.
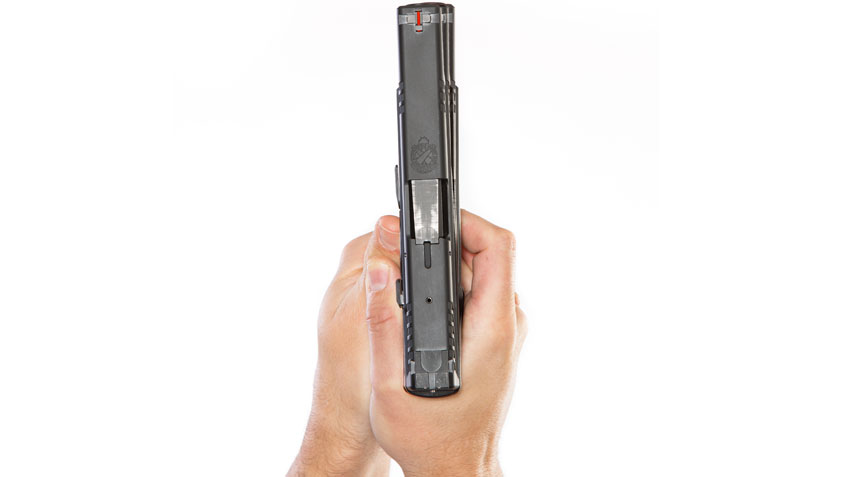
Assuming the gun is zeroed properly, if your shots frequently continue to start near the center with the first shots, then favor left with the latter shots, the stock answer is that you are trying too hard to control your shots—especially after a few good hits are on the target. What this means in practical terms is that you have been unconsciously increasing your grip tension as the trigger is pulled, thereby causing the gun to roll slightly inboard to the left due to the way your fingers wrap around the grip of the gun. This can be easily seen while dry firing a shot sequence if you are truly focused on the sights at the instant the trigger releases. During live fire, the ball-and-dummy drill (where a few dummy rounds are randomly mixed with the live rounds in the shot sequence), is a good diagnostic tool. When the trigger releases on a dummy round, the front sight should maintain its position in the rear-sight notch. Predictably, your front sight will move to the left in the rear-sight notch when the trigger releases, which, had the gun fired, would result in a shot on the target, favoring to the left side of the group.
An awareness of a change in grip tension increasing as the trigger is pulled is a good indicator of what is happening to cause the misplaced shots. Surprisingly, the cure for this is to slightly relax your grip. Focus your mechanical efforts in operating the gun on the separation of the movement of the trigger finger from the movement or increased tension of the other three fingers.
Remember, if you have been shooting for a while, more than likely you have unconsciously created a habit through repetition and are not aware of the errant movement and pressure created by the gripping fingers. A simple but little-known drill to break the bad habit is to combine the two things necessary to fire a good shot. They are, of course, sight picture and trigger control.
Once the sights are on the target, visual focus goes hard to the front sight as viewed through the rear-sight notch, combined with the tactile or mechanical focus on manipulating the trigger parallel to the gun. Another way to describe the drill is to put the sights on the target and imagine the front sight is connected to the trigger as it is pulled through the rear-sight notch to fire the gun. Striving to keep the front sight centered in the rear-sight notch while operating the trigger throughout the firing of the shot goes a long way toward correcting any deficiencies in accurate shot delivery (grip-related or otherwise).
The “wall drill” is a dry-practice drill that is excellent to practice in committing this technique to a good habit, displacing many of the bad ones that interfere with our shooting efforts. It’s been described in past columns and can be found online. In short, it allows the practitioner to both see and feel what it takes to deliver a good shot or series of shots and is an excellent diagnostic tool to increase skill and proficiency in shooting.


