In “real-life” scenarios, improvised rests like the one this soldier is employing are far more common than a purpose-built shooting table or a benchrest at your local range.
Gunwriters employ fairly uniform protocols for testing rifle accuracy. For rifles we usually fire five, five-shot groups of several ammunition types through each gun to ascertain accuracy potential in a controlled environment. The intent is to provide our readers with performance results that are as close to being apple-to-apple comparisons as possible amongst specific gun types. While it would be great if we all shot with the same degrees of skill, on the same range, under uniform conditions and were constantly on our “A” games, reality does not work that way.
We all have bad days and good days and times when chronographs, optics, magazines, test guns and even ammunition fail to work as designed. Thankfully, when the stumbling block encountered is not the fault of the test item, we can assess, remedy and retest things to get honest and fair evaluations. When testing rifles specifically for accuracy, we try to eliminate as many variables as possible to see how a gun will perform in static range conditions.
There are three basic test methodologies from which to choose when evaluating rifle accuracy. The first is to assess what a particular component—firearm, sighting device(s), ammunition, optic—will do without any other component (including the shooter) affecting the results. That means all other components in the system have to be of known performance. The firearm is usually mounted in a fixture and fired under very controlled conditions. A remote trigger is often employed to eliminate any chances of human-induced shooting errors. While this method produces very uniform, easy-to-compare results, it is not practical for anyone who does not happen to have a facility for testing firearms in their backyard, complete with a mounting fixture that costs more than a small house and whose regular calibrations cost more than a small car.
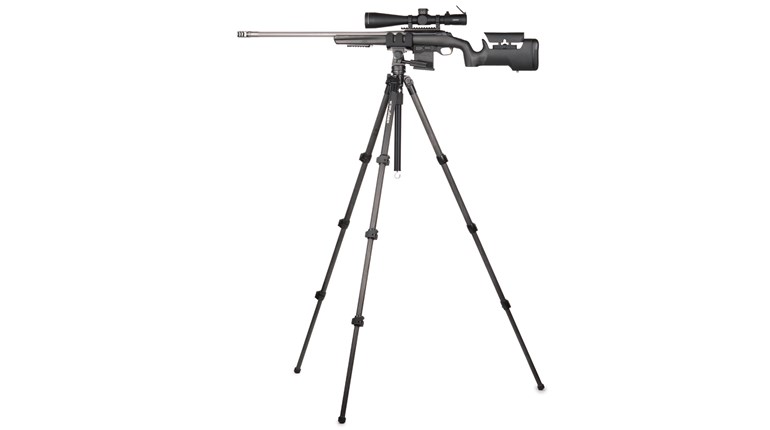
The second methodology is most commonly used for semi-formal evaluations: firing from a solidly supported position, using some sort of front rest such as a sandbag or bipod. Rear rests are often employed under the toe of a rifle’s buttstock, and some type of optic is typically used when feasible. The idea is to provide good stability while factoring out as much shooter error as possible while still maintaining some human interface. While the individual shooter can affect things negatively with this method, it is about the best we can do on a normal range and more importantly, most anyone can test their firearms the same way.
The downside to measuring accuracy this way is that it only tells us how a rifle performs under tightly controlled conditions. Downrange results will likely differ when you do not have a steady rest, known target distances, good lighting, a full belly, clear eyes and a mug full of coffee nearby. So this is a good method for side-by-side comparisons, but bad for assessing what a specific gun will do in your hands under more realistic conditions.
That brings us to the third methodology: testing for practical accuracy. There are no rules for right or wrong here. Rather, the idea is to shoot a rifle in the same positions and conditions encountered away from a static range. I typically do my practical shooting from three positions: standing offhand, kneeling and prone. Prone is the most stable and also the slowest and most restrictive position in terms of terrain, vegetation or other obstacles. The difference between “practical prone” and static prone testing is that the only support used here is that which is permanently attached to a rifle or carbine along with the shooter’s body. Anything else is a luxury I do not plan for. As a gun minimalist that means either my support elbow or a rifle’s magazine is going to be the only support my rifles feel. I have been going prone in a hurry so long that I can get stable and on target in no time at all, so this is very natural for me.
Likewise, my kneeling and standing positions follow similar protocols: I use my body for support and concentrate on the fundamentals of accurate shooting in order to score hits as quickly as I can. My scopes are usually dialed down to a field-friendly power and if preparing for a hunt, I will often shoot from something that closely approximates a tree stand. There is no other way to expose how well or poorly your rifle, optic, ammunition and any ancillary equipment will perform together under realistic conditions than to simply shoot them that way in practice. Where possible, most of us try to include some amount of practical testing with the firearms we evaluate to complement accuracy and functional results.
Were we to switch our testing to practical shooting only, we would have to accept losing the ability to compare one gun to another. The reader would be left trying to figure out if the hasty standing position used to ring 8-inch steel gongs at 100 yards with rifle A is in any way relative to the way another writer shot groups on paper while kneeling at 75 yards using rifle B. This is why we continue to use some form of semi-controlled test protocol to zero sights, evaluate accuracy and compare components. Once that has been completed, it is time to get off the bench or push the bag rest off to the side. Consider the real-life ways in which you will shoot, whether defensively, for hunting or in competition, and tailor the rest of your shooting around that. Turn your testing into training and you will get a better feel for what you can really do with the tools in your hands.


