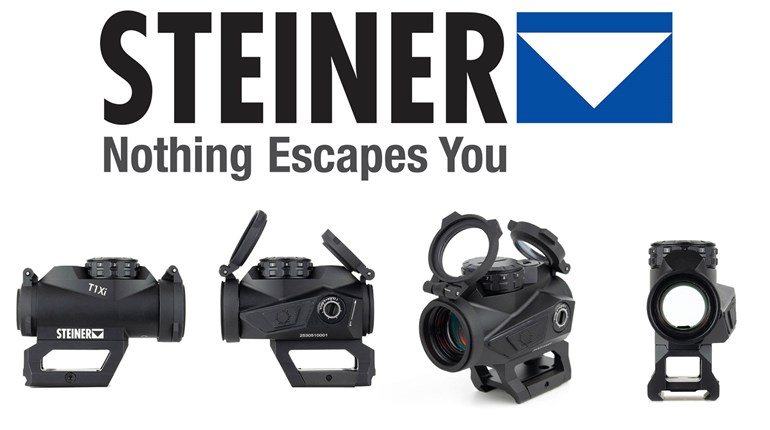
With the AR-style rifle and pistol becoming ever more popular for self-defense use, there are some idiosyncrasies to consider, especially when using with an optic in close-quarter areas. One of these is bore/optic offset.
Bore/Optic Offset
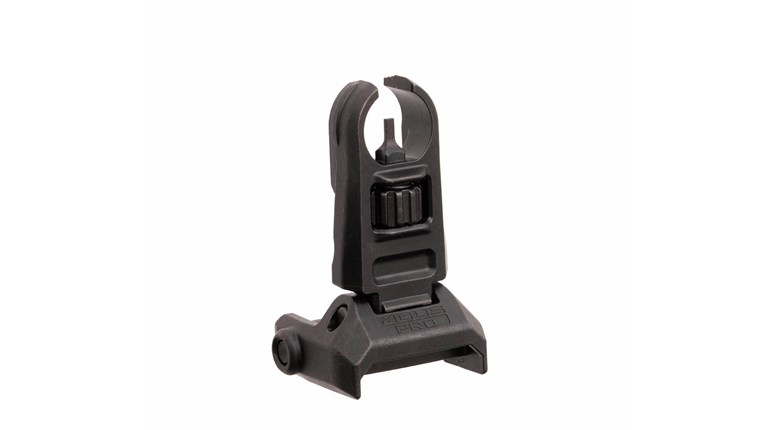
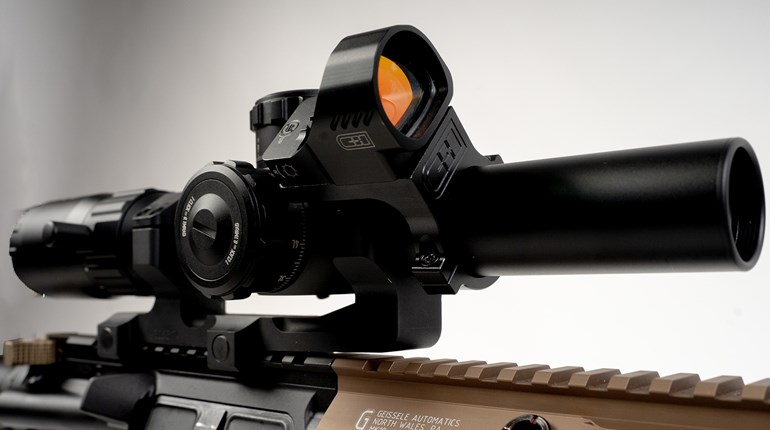
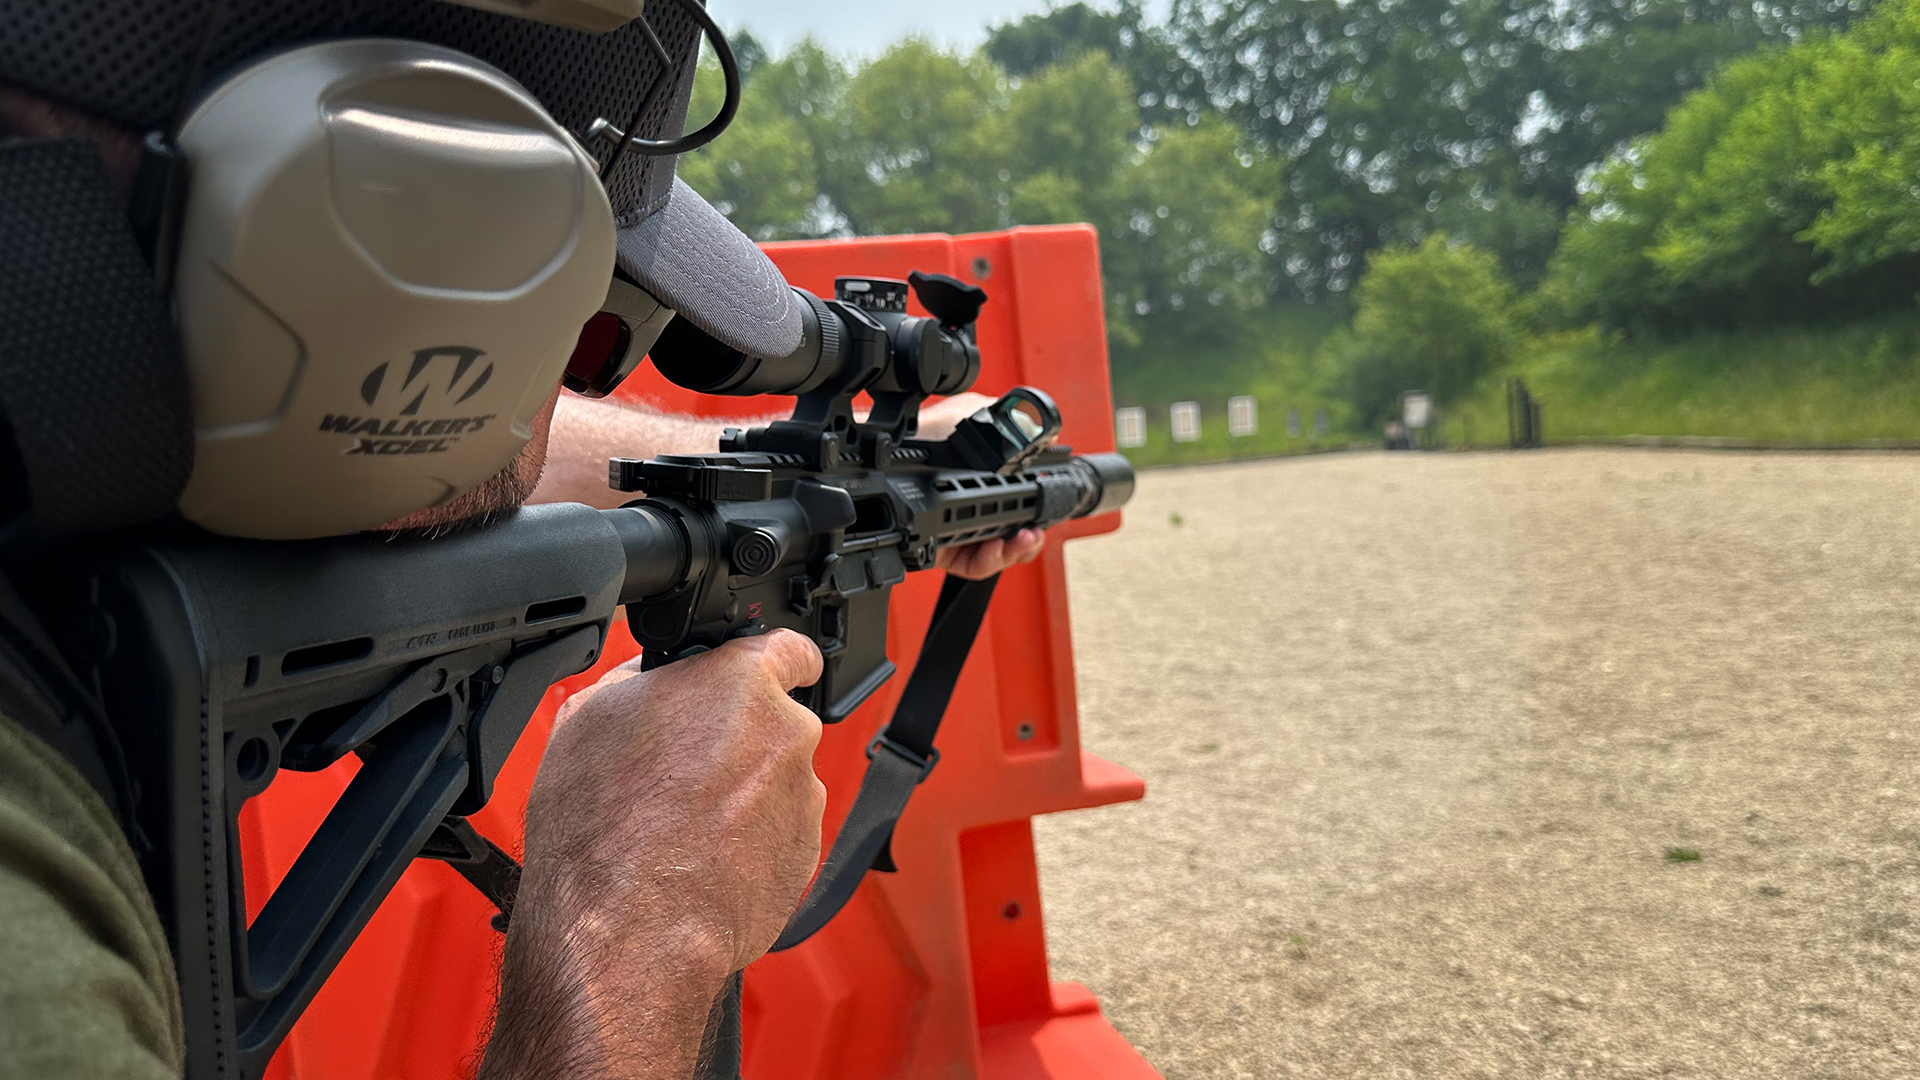
What is optic offset? Simply put, a sighting system will never be 100 percent in line with the bore – the only way that would be possible is if our line of sight was from the bullet’s point of view, which is down the barrel. This is one reason why many prefer their optic mounted as low as possible (there are other benefits, too, like better recoil mitigation, a more natural point-of-aim (POA) – which we’ll get to later – and an increased target-acquisition speed). Companies such as Leupold have even gone to extremes to minimize this offset. The higher your optic is off your gun, the more you must consider the offset of your optic when it comes to your point-of-aim compared to the actual point-of-impact (POI) of your projectile, especially in defensive scenarios. This is why iron sights, even though they give the shooter no magnification, are overall a faster sighting method than using something mounted higher off the gun; as soon as you bring the gun up, you’re looking nearly directly over the bore of the firearm to your target.

Optic Offset Considerations
Now that we understand optic offset and how to mitigate it, we can discuss how to compensate for it.
One of the most common failures due to offset is punching a hole through an unintended object with a projectile. While trying to minimize exposure to danger, we tend to lean around objects like walls or barriers; sometimes that means our optics can see what we see, but the barrel of the firearm isn’t clear, resulting in an instant impact with the barrier rather than the intended target. This is not only counterproductive in stopping a threat, but it also puts the shooter in danger of possible fragmentation of the bullet or of the object in proximity to the shooter, or a possible ricochet of the bullet back at the shooter or someone else that wasn’t the intended target.

Touching Targets
In a self-defense scenario, a shooter might be able to reach out and touch the bad guy. This means the bullet is going to print significantly lower than it would otherwise, so while it may be a hit, it won’t be an effective hit. We experienced this in a live-fire exercise when I went to a shoot with SecureIt at The SITE, a former Blackwater training locale, where we practiced with red-dot sights on AR-style rifles at bad-breath distances after retrieving firearms from SecureIt safes to simulate home-defense scenarios. Navigating close-quarters situations, many of us initially hit the intended hostage-style target much lower than we expected. Sure, we hit the bad guy and missed the hostage, but we didn’t incapacitate what would’ve been the threat. We merely clipped his hand, which potentially renders the assailant’s trigger hand useless in the best-case scenario, or it simply angers him in the worst-case scenario, allowing him to shoot back or shoot the hostage. Had the target been a threat in real life, even assuming the shot disarmed one hand, the other hand could’ve very well been holding a knife, firearm, etc. and still been a threat to us or the hostage.
Home on the Range
Practicing shooting around objects and up close and personal on the range is a great way to prepare and train for home defense scenarios. Make sure your range is okay with that type of shooting before trying it. If so, while you’re there, take some longer shots to experience how much of a difference your scope offset makes when you’ve got the rifle canted one way or the other below the optic. Firearms are zeroed with the optic and barrel lined up perfectly parallel, and those two objects are then parallel to the shooting bench, but shooting around barriers can make quite a difference in accuracy. Long-range competition shooters account for this cant regularly, but the same concept holds true at closer ranges, especially in scenarios requiring a quick shot. Even at 50 yards, we noticed a shift in impact compared to where we thought our rounds would print. Not that this matters if the adversary has their entire torso exposed; just aim for center of mass as you normally would. But if all you can see is an arm or a leg, and you need to stop the guy because he’s got a weapon pointed at you or a loved one, keep optic offset in mind when shooting with the rifle canted around a corner or from behind a barrier, as it could cause a miss, which may prove costly.
Lessons in Barrel Length
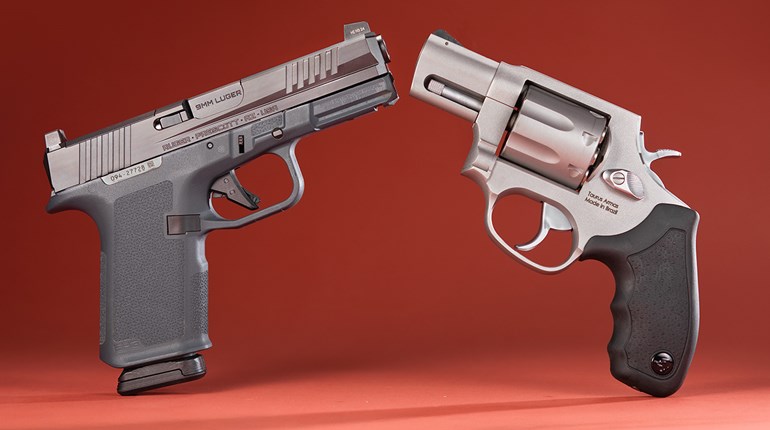
Of course, barrel length can make it easier – or more difficult – to maneuver a firearm. In short, the pro of a shorter barrel, like a pistol, is it’s easier to conceal when going around corners and whatnot. The con? Muzzle awareness is key. With a longer barrel, you can see where your muzzle is with your peripheral vision, but in a panic or when awakened at a moment’s notice from dead sleep, that doesn’t necessarily mean you’ll be aware of it in the moment.
In any case, working optic offset considerations into training routines is an important skill to build on, and will make you a better shooter overall, especially when it may count the most.


