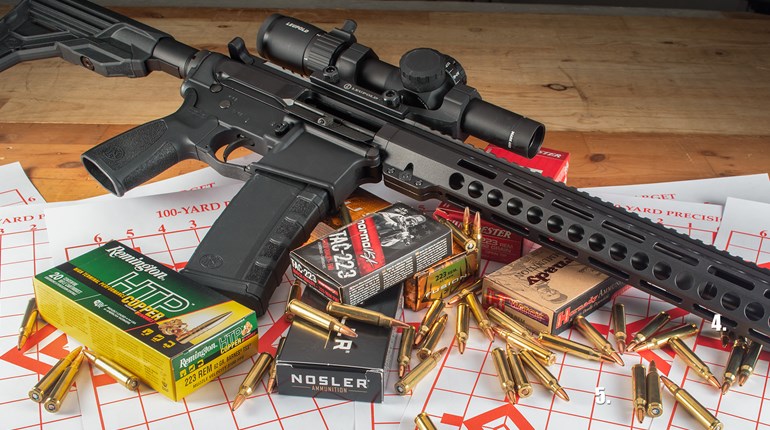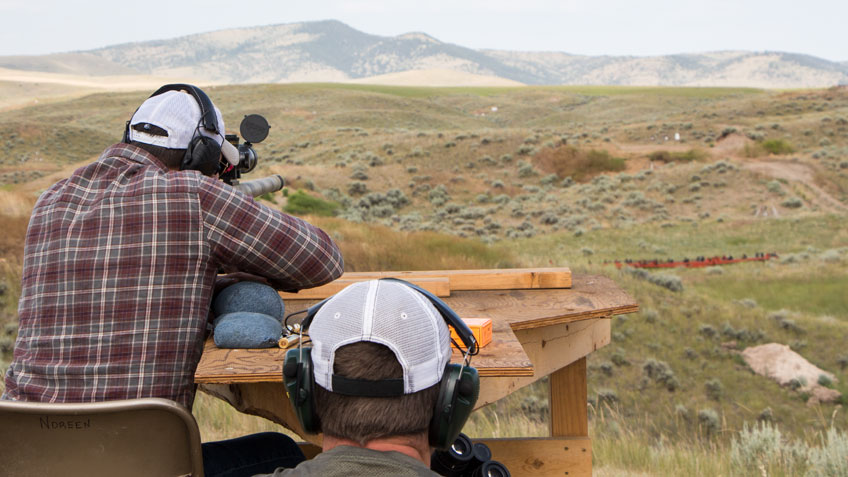
An unknown- distance shot is just one of the many drills that can be done during the off-season to keep your skills sharp.
When the winter winds are blowing, hunting seasons are ending and the competition circuit is on hiatus, the last thing most people want to do is head to the rifle range. Fortunately, you can take advantage of that “most people” part by having the rifle range to yourself much of the time. Even though lawn mowers and sunscreen are distant memories of summer, your rifle(s) do not have to lie dormant, too. Winter is a good time to learn new skills or “re-blue” old ones that have been unattended for too long.
Much of our precision-rifle training is focused on bench or flat-belly shooting at various distances, either ringing steel or trying to print the smallest groups possible. Often overlooked is the initial “cold-bore” shot. A cool, clean bore will quite often shoot differently than a warm (or hot), fouled bore. It is always a good idea to know your rifle and go-to ammunition load well enough that when firing that first shot, you can accurately compensate for any deviation from your fouled-bore zero. Winter’s colder temps may affect your zero even further, so checking your cold bore at this time of year is a good starting point.
Winter is a good time to learn new skills or ‘re-blue’ old ones that have been unattended for too long.
If your rifle is set up for a sound suppressor, the next step is to check your cold-bore deviation with the suppressor attached. It may differ from unsuppressed mode enough to change the compensation needed to make that first suppressed shot count. Be sure to clean your bore and give the barrel a few minutes to cool between these two checks.
Take it to the next level if you happen to be that squared-away rifle shooter who considers it child’s play to make cold-bore shots at zero distance. Try making a cold-bore hit on target at an odd distance, like 372 or maybe even 638 yards—whatever you can work out on the range. While the math says that a .5 MOA low/.75 MOA left cold-bore deviation at 100 yards should still be .5 MOA low and .75 MOA left at any distance, the truth is that real-world trajectory is not as straightforward as that. Developing the skills required to consistently hit targets at oddball distances with a cold and clean bore—and without sighters—is a great way to master your bullets’ movements through air.
A big-brother version of the 1-2-3 Carbine drill I covered a few months ago is the 2-6-8 drill. The numbers correspond to 200, 600 and 800 yards or meters, but your range facilities will dictate the numbers. Whether you use a 1-3-5 or 6-8-10 version of this drill, it will still serve as a useful and relatively simple skills check.
The setup is simple. First, place a target on which you can measure deviation [from your point-of-aim] at each distance. Freshly painted steel is good; clean paper is better. But scrap plywood or old sections of sheetrock will work just as well. The key is that you are able to identify your impacts upon close inspection, if not from a distance. The target size is up to you, but the aiming points must be visible through your sights.
Fifteen rounds are required for the drill, but extra ammo might be useful if your elevation data is not as solid as you had hoped. A five-shot group will be fired at each distance. The goal is to confirm your “dope” and ensure that your technique provides shot-to-shot consistency. I shoot the closest distance in the most-stable, non-prone/non-bench position I can get into. The farther targets are engaged from some form of prone-supported position. If you are limited to a 100-yard range, shrink aiming points in sequence so that the largest is several inches wide, and the smallest is eclipsed by your reticle’s center or front-sight post. Or, dial down a variable-power optic to consecutively lower powers. Then, use field- practical positions such as squatting, kneeling and standing for your three “distances.”
Once you can place five consecutive shots into MOA-or-better group sizes at each distance, you are on track. Shooters who find that to be too easy can shrink the size of their aiming references or try for ¾- or ½-MOA groups. Conversely, if MOA is not happening on a good day with your reliable, old hunter, work on simply shooting “minute-of-vitals” group sizes. The goal is to shake out your elevation data and technique from a relatively cold start. Since winter often includes hefty breezes, you are also likely to get some wind-calling and compensation practice.
A final precision-rifle drill that is worth its weight in gold is the unknown-distance shot. Setting up requires help from a friend. Your target should be placed somewhere within the range limits and away from known distance markers, if possible. Face away from the target, so you do not estimate distance ahead of time. When ready, simply face downrange, load in accordance with range-safety procedures and find your target. Get into a steady, field-practical position, figure the range, apply the correct elevation and windage corrections, and make the shot. If you miss, figure out what you did wrong and try again until you find the correct solution.
Having your friend talk you onto the target location and spot the shot(s) will be helpful. Electronic assistance from a laser rangefinder, ballistic computer and anemometer should allow you to engage your target very quickly, preferably less than a minute after locating it. Try to keep it less than 3 minutes if you’re working by eyeball and reticle with a dope card or note pad for calculations. Use whichever methods of range estimation and calculating elevation and windage holds you normally rely on. As you get better, decrease your target size, time window or both. These simple drills are neither time nor material intensive. However, they will help you maintain a nice point on your rifle skills at a time when the tip is normally blunted by the off-season.


