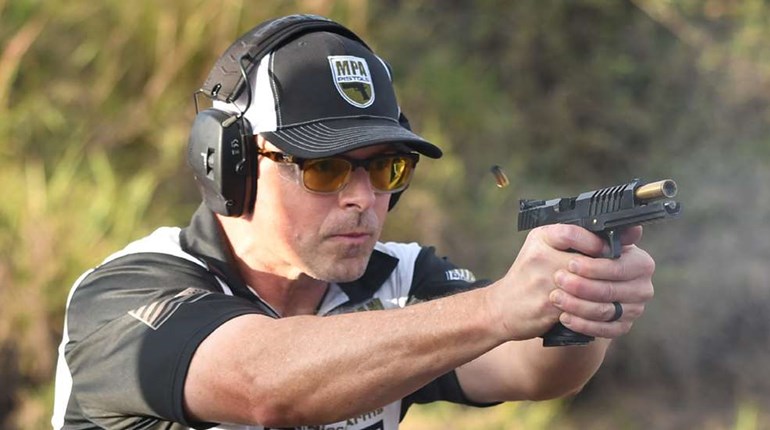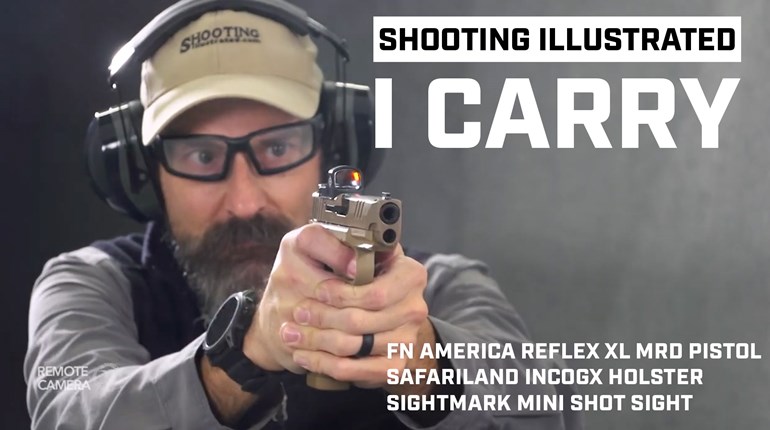
The purpose of drawing your handgun from its carry position is to shoot your intended target. Whether drawn in combat (self-defense of an immediate violent physical threat) or in competition (shooting a pre-planned set array or stage of targets), the handgun must be rapidly deployed as to deliver the first shot on target as quickly and efficiently as possible.
Whether the “go” button is an active threat (personal combat) or in competition (shot timer), when it comes time to draw that muzzle from holster to target, shooting is shooting. In both scenarios the shooter must rely on their skill and training to make effective round placement on the target.
To facilitate the best possible outcome is to understand appropriate timing of the shooting process. As per multi-world champion competitive shooter Rob Leatham, the shooting process is “nothing more than bringing stability to alignment and pressing off the round(s) without disturbing that alignment.”
Correct timing is accomplished by acquiring an early and stable grip, finding and maintaining alignment, and breaking your shot at the right time.
Early Grip
In a defensive shooting, especially when carrying concealed, the first step is to clear the carry cover garment and defeat any holster retention device(s) resulting in a firm, positive, strong-hand grip while in the holster. Let’s call this “grip one.” Competition, sans concealment garment, calls for the very same firm, positive, strong-hand grip on an open holstered handgun also known as “grip one.”
Regardless of combat or competition application, when both hands come together for a supported two-hand or ‘freestyle’ (competition parlance) grip the same ‘grip one’ is bonded to the support hand (we’ll call this ‘grip two’) significantly contributing to muzzle stability.
Grip one occurs with the handgun in the holster. Grip two occurs with the gun having recently departed the holster somewhere in the vicinity of the shooter’s dominant eye but less than halfway to completion of the draw stroke.
If the hands come together after the alignment process a tremor caused by that linkup could induce misalignment and a need for the shooter to make further corrections closer to the top of the draw stroke. All of which cost valuable time.
Alignment Method
The two ways of finding alignment are kinesthetics, that is, using your body via natural point of aim and/ or proprioceptors versus employing visual alignment using your eyes to aim, verify and make any needed adjustments. Depending on the shooter, you can choose one or the other or a combination of the two.
If you were to define ‘point shooting’ as ‘aligning the muzzle and breaking the shot without the use of any visual confirmation,’ then that would mean alignment is acquired solely via kinesthetic or tactile means.
Conversely, the shooter who relies fully and completely on their eyes for alignment (employing zero kinesthetic input) must wait until the sights come into their field of vision, most likely at or within the vicinity of their dominant eye. Timing for this methodology best serves the shooter at or after achieving "grip two."
Combining The Two To Make The First Shot
The shooter who employs the combination of kinesthetic alignment and visual confirmation also determines what percentage of methodology to use prior to the top of the draw stroke. Will it be 50-percent kinesthetic and 50-percent visual? Perhaps 80-percent kinesthetic with 20-percent visual? It is the shooter’s choice of course, but there are pros and cons to each one.
Pros on the kinesthetic side are that your body starts the alignment process immediately at ‘grip one’ whereas visual serves to identify and remain target focused. Cons are that it takes a much higher level of skill to rely fully on kinesthetic alignment when ‘point shooting’ demands longer distance and more technically difficult targets.
Pros on the visual side are that you can use your eyes to verify alignment, which in turn ‘tell you’ when it’s OK to break the shot. The downside is that this can be a slower process because of its start time in the draw stroke and unless further refined may cause the shooter unnecessary delay.
Combining both alignment methodologies is something that can be partitioned to fit the shooter. Too much of one and not enough of the other can present an alignment timing imbalance based on skill level.
Top of Draw Stroke
Sooner or later in the shooting process, the shooter must break the shot either during or at the top of the draw stroke.
At entry level skill, breaking a shot prior to the top of the draw stroke although extremely efficient can come with the price tag of either the muzzle not being quite aligned causing the shooter to make micro-adjustments, or that grip two may not yet be quite solidified at greater speeds. Whereas, breaking the first shot at the very top of the draw stoke allows for optimal usage of time in bringing stability to alignment.
Shooters who get to top of draw stroke and sit there for a while without breaking the shot, have either not completed their stabilization and/ or alignment or may be over verifying either kinesthetically or visually – all of which burn valuable tenths of a second.
Aside from the usual shooting errors such as changing grip pressure or knocking the muzzle out of alignment during the press and other such undesirable incidents, the most efficient use of timing would arguably be breaking the shot at the very top of draw stroke.
Purchasing an early grip (both grip one and grip two), developing your alignment modality (kinesthetic and/ or visual) and breaking the shot immediately upon establishing stability is brought to alignment, provides you optimal timing and ensuring a successful first shot.


