Recently, I had the opportunity to work with a handful of rifle shooters during a couple days’ worth of accuracy testing. Ages within the group ranged from mid-20s to mid-70s, with an equally wide breadth of experiences, rifles and magnified optics on the firing line. During the first range session, I noticed that several shooters were suffering from a problem I sometimes see in my gunsmithing work: Good rifles and optics aren’t worth much if they aren’t properly mated and set up for their owners. Given the importance of our sighting systems in the hit-what-we-aim-at equation, it’s worth spending a little extra time ensuring that our riflescopes are set up for success.
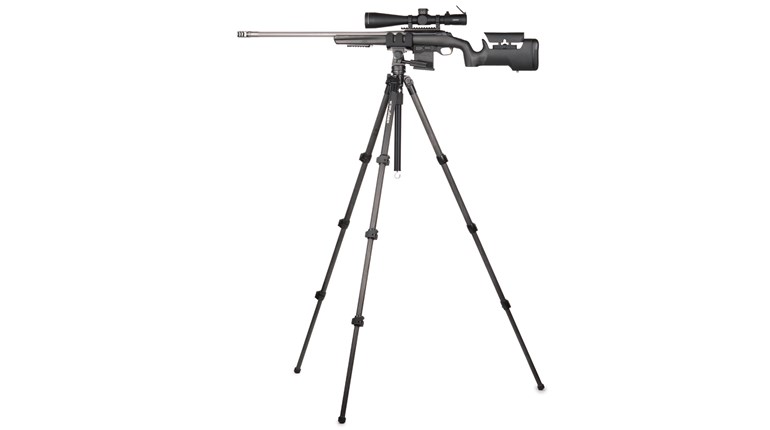
The first shot in the battle to squeeze the most out of a magnified optic is to mount it at the proper height. There’s no one-size-fits-all solution here. Different scope dimensions, stock designs, comb heights and head shapes all factor into mounting height. Ideally, your dominant eye will align with the center of your scope’s field-of-view (FOV) when your head is comfortably positioned on a shouldered stock. A neck that is bent or stretched to the point of straining usually indicates the need for a change in mount height.
When positioning a mount (or rings) along a rifle receiver’s top rail, it’s best to avoid “bridging” the gap between receiver and handguard top rails—unless it’s one continuous rail. Bridging the gap can lead to mount or internal scope problems due to the differing degrees of flex exhibited by major rifle components during the firing sequence. Also, when placing rings or a mount in rail slots, removing any play by seating them forward in the slots before torquing the cross bolts or screws will help them stay firmly seated on harder-recoiling rifles.
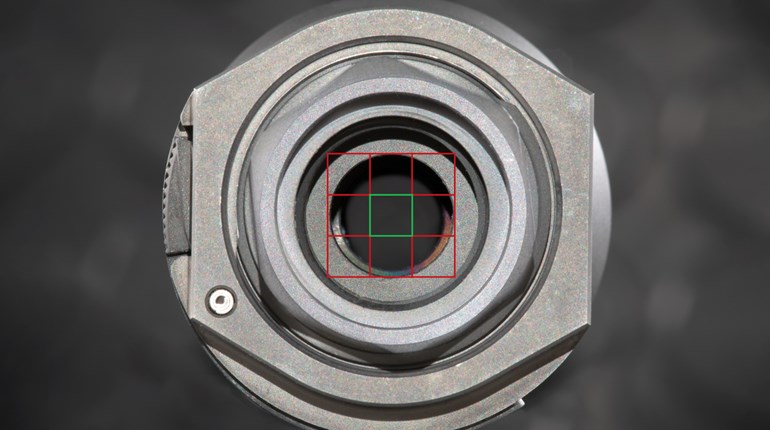
Adjusting the scope’s position to achieve proper eye relief is the next critical task. While eye-relief values vary from model to model, traditional magnified riflescopes typically fall within the 2.5- to 4.5-inch range. Whatever the figure for your optic, that number represents the optimal distance from the aiming eye to the rearmost lens. As you move the scope forward or backward from that point, the FOV quickly shrinks, creating a vignette effect that makes precise aiming difficult.
Shooting position also factors into determining the best eye-relief location. The relationship between our firing shoulders and our dominant eyes changes as we switch from one position to another, moving the riflescope slightly farther away from or closer to the eye. A common solution for dealing with this issue is to set the eye relief for a clear FOV in the most frequently used shooting position.
Levelling the reticle in a riflescope and correctly torquing the ring-cap screws and rail-mounting hardware are also important tasks. A small bubble level can aid in truing the optic to the receiver rail, but there are all sorts of nifty levelling devices available, too. Follow the scope-ring manufacturer’s torque guidelines for all hardware to avoid damaging your scope or mount.
Lastly, the riflescope needs to be finely focused before sending rounds downrange. The diopter adjustments found on most magnified scopes’ eyepieces help to bring reticles into crisp detail. If your riflescope’s parallax is fixed at a specific distance, you may need to use the diopter focus to find a happy medium between reticle and target image clarity at longer ranges. If your optic has adjustable parallax, then using it to focus the target image and the diopter adjustment to ensure a clear reticle allows for more of a fine-tuned view. Just remember that parallax changes with target distance.
Once mounted, a hands-on approach to maintaining the scope usually proves helpful. Because the vibrations generated by repeated firing can cause mounting screws to loosen over time, a mild thread-locking compound and occasional checks for proper torque are good preventive measures. Resist the urge to “monkey fist” (overtighten) them so that you won’t need a crash course in removing snapped screw fragments.
Another useful habit is to remove the “lash” in a scope’s adjustments when making windage and elevation changes. If you dial in your corrections for each shot, the small amount of play in the average scope’s internal gearing can cause minor point-of-impact (POI) deviations in the first couple rounds after making an adjustment. Back in the 1990s, the owner of a well-known riflescope- and reticle-manufacturing company taught me and my fellow snipers to remedy this problem by always finishing our knob adjustments in a clockwise direction.
For example, clockwise knob adjustments are simply dialed in normally. When making counterclockwise corrections, however, we were instructed to go a couple clicks past the intended stopping point, then come back in a clockwise direction to remove the play in the gears. I don’t recall if it has to be clockwise or just in a consistent direction, or if there are scope designs that don’t have any lash, but this ritual has served me well for more than 30 years.
Protecting your scope’s delicate lenses is another excellent practice. Whether using a scopemaker’s covers or aftermarket flip-up caps, preventing cleaning solvents and debris from damaging lenses and coatings will help them remain clear. When it comes to flip-up caps, Butler Creek’s popular Scope Covers work fine for basic applications. For rugged use, Vortex’s Defender Flip Caps and Monstrum Tactical’s Flip-Up Rifle Scope Lens Covers both employ rubberized skirts to keep their caps more firmly seated. These rigid plastic covers fold flat when open, leaving an unobstructed view around a scope, and positively snap shut.
The last lesson learned is one that I harp on regularly. While it’s natural to want to see as much target detail as possible, maximum magnification doesn’t always lead to our best shooting. Zooming all the way in to positively identify a target or discern a specific aiming point makes sense. But, if you’re simply trying to be accurate at distances that don’t challenge your target-identification skills, dialing the power down can often prove beneficial. I typically find that once I reduce my scope’s magnification to the 6X to 10X range, I’m no longer tempted to chase my reticle around a target in search of the perfectly steady hold. Instead, I can concentrate on the rest of the fundamentals required for accurate shooting.
If you’re unsure how to perform any of these steps, seek help from an experienced precision-rifle shooter, instructor or gunsmith. Getting your riflescope set up correctly in the beginning will go a long way toward helping you hit what you’re aiming at in the long run (and it will save much ammo and frustration, too).


