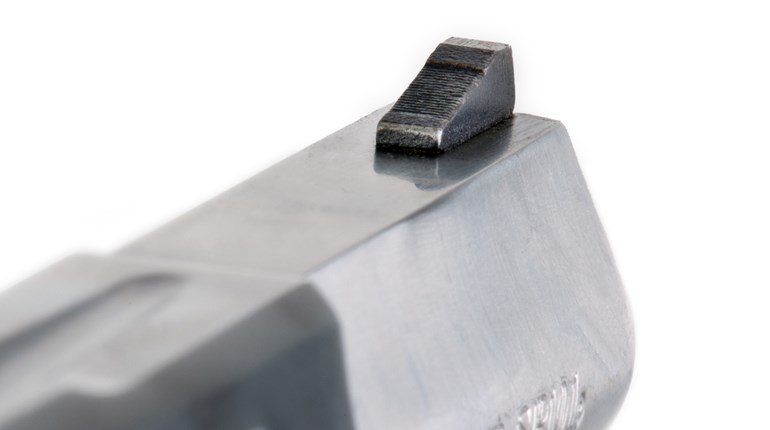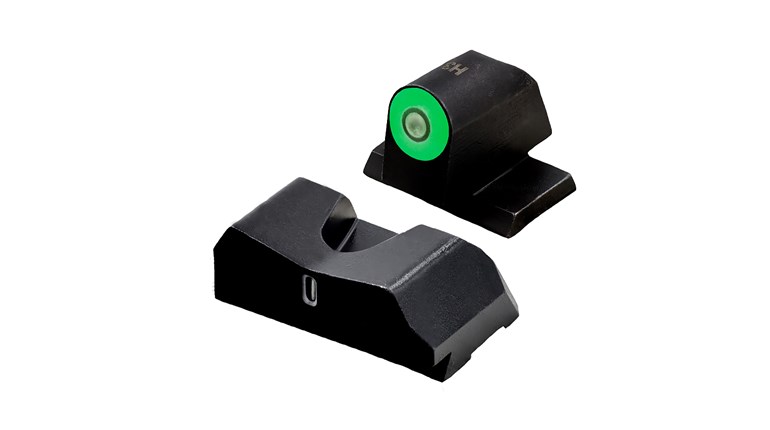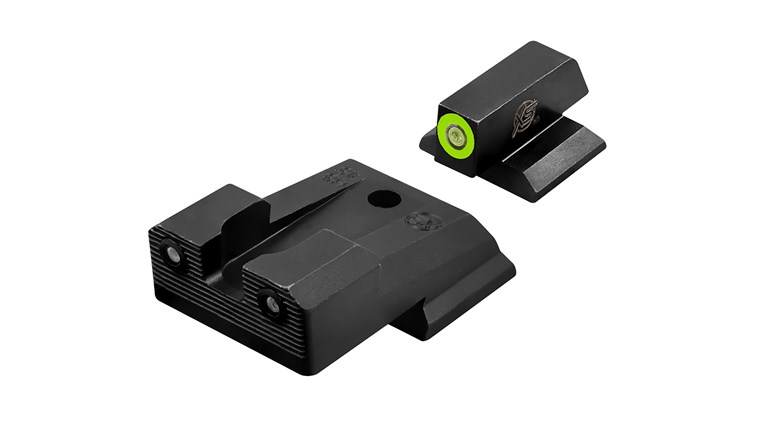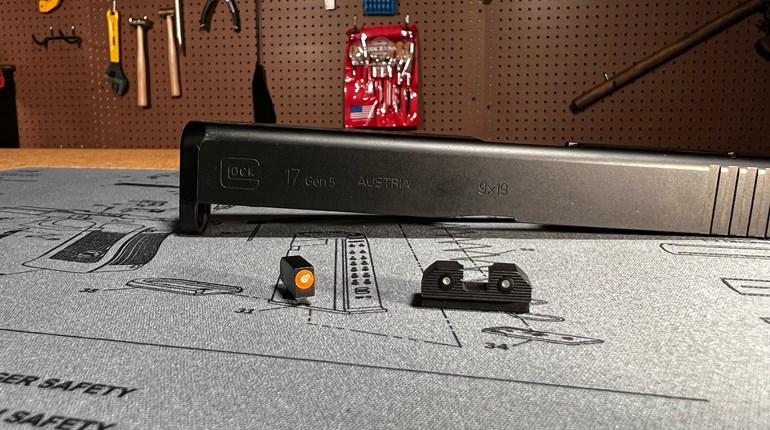
For do-it-yourself types, swapping handguns sights is a good project. However, a few things have changed since your grandpa smacked the back sight out of his pistol with a ball-peen hammer and a scrap piece of brass.
First, why change the sights at all? There are plenty of answers to that question. A fair number of the sights that ship on new handguns are not all that great, as high-quality alternatives are expensive and selling handguns is a competitive field. One extremely popular brand ships their pistols with notoriously poor sights. Also, the ubiquitous three-white-dot variants found across the spectrum of handgun makers are disdained by many knowledgeable defensive-handgun experts—they can be very confusing in a tense situation.
Black-on-black models are fine for shooting targets, but not for much else. With everything the same color, they can be difficult to see, particularly in poor light and/or against a dark-colored target.

I once waded into a roaring fight between a large, angry black bear and a bunch of walker hounds. There was not a lot of light deep in that swamp, and when I tried to shoot the black bear with a revolver fitted with black-on-black sights I could not tell where the sights left off and the bear began.
I am a big advocate of adjustable sights on handguns for competition, target shooting or for outdoor use. I even have them on several carry guns. I want the ability to fine-tune the gun to any ammo I choose. So, I add adjustable sights to a lot of handguns shipped with fixed sights.
Furthermore, I insist on using night sights on my defensive handguns. In fact, adding night sights is the single biggest reason people bring handguns to my shop. They come both fixed and adjustable. Also, tritium night sights have a shelf-life (actually, a half-life) and should be replaced every 10 to 15 years.
Changing sights may look like an easy, do-it-yourself project, and for many years it usually was, but often now it is not. The trend today with some handgun makers is to use rear sights with “crush-pads” on the bottom of the dovetail. This may make the manufacturing process a bit easier, but it often causes problems for the end user, as the sights can stick quite tightly in the dovetail. Removing most sights installed with crush pads will require a top-end sight pusher.
I have bent the frame on a very good (and expensive) sight-pushing tool to the point where it is currently unusable. I did this while trying to remove the sights from a Smith & Wesson M&P Shield chambered in .45 ACP. Any attempt to drive out sights that tight with a hammer and punch will cause damage to the gun, the sight, the punch and your mental health.
Also, anytime you are working with night sights you should use a sight pusher. The glass vials that contain the glow-in-the-dark tritium are subject to breakage if you use a hammer and punch to move the sight. The small amount of tritium in the vials won’t hurt you, but you don’t want to get any on you all the same.

I know that we have all heard some loudmouth at the gun club spouting, “That’s just [bovine excrement]! I have installed hundreds of night sights with a hammer and punch.”
First, no, he has not. Secondly, these sights are expensive and it’s not worth the risk.
There are a lot of sight pushers on the market. Some of them are considered “universal,” while many others are dedicated to a single manufacturer of handguns. They are all costly. If you are like me and work on a wide range of handguns, a universal unit is the best option. It may not work on every gun, but it will cover most of them. My current sight pusher is the B&J Machine P500 Pro Universal Sight Tool that I got from Brownells.
High-quality sight pushers come with a premium price, but a good approach is to share the cost. If you have a group of shooting buddies or a gun club, why not have everybody chip in a fraction of the cost and buy one collectively? Then, leave it in a place where you all have access to use it. That makes a lot of sense, since it’s unlikely any single person will be changing handgun sights all that often, but as a group, you might end up saving money on the pusher rather than going to a gunsmith.
You may also need a sight pusher to adjust fixed sights for windage. Those handguns using crush-fit rear sights claim to be drift adjustable, but doing it in the field is impossible on many of them. The traditional way is to tap the sight using a small hammer and a brass or nylon punch, but I have encountered several new handguns from multiple manufacturers on which this is impossible. I had a Remington RP9 on which I think you could beat the sights with a carpenter’s framing hammer and a crowbar and they would not move. In fact, I am not sure a jackhammer could have moved that one.

It takes a bit longer, but pull the slide off the gun and use the sight pusher to make the adjustments with these sticky sights. It’s much more precise and it can move these new-generation sights when nothing else will. (Besides, I suspect jackhammers void the warranty.)
For installing non-tritium sights, you can most likely use conventional methods. That is to hold the slide in a padded vise and gently drive the sight in the dovetail using a small hammer and a brass or nylon punch. The important thing is knowing when to stop. If the sight is not moving, don’t get a bigger hammer, get a sight pusher.
A brass punch will often leave “tracks” on the sight where the brass smears on the steel. These are easy to remove with a copper-removing solvent made to clean rifle bores. Just wet a patch and rub the brass mark until it’s gone. Then dry and coat with oil to prevent rust.
If it’s a new replacement sight, it might be made oversize. In that case, you must fit the sight to the handgun. When fitting new sights to a dovetail, I like to break the sharp leading edges on the sight and the handgun’s dovetail using a fine-cut, dovetail file. This will remove the finish though, so be careful on the slide. I only do enough to remove the sharp edge, like dulling a knife blade. This allows the sight to start and press into the dovetail without shaving material. Usually, a little cold blue will touch up if anything shows, but if the gun has a Cerakote or similar finish, it’s best not to remove any material that will show.

Some dovetails are tapered. Install the sight from right to left with the muzzle facing away. (Left to right to remove.) This was the standard for years and still is on some firearms.
The sight should start into the dovetail with hard finger pressure. However, because standardized dimensions are a bit sketchy on dovetails, many sights come slightly oversize and are designed to be modified to fit. If the fit is too tight, you can use a dovetail file that is “safe,” or non-cutting on two sides, so only one side has teeth.
Make sure the angle is correct; a 60-degree compounded angle is most common, but some dovetails may be different. For example, some handguns are made with a 65-degree angle dovetail, so make sure your file matches the angle on the handgun as well as the new sight you are installing. Use a parallel sides file, not a tapered triangle file. Brownells is the best source I know for these dovetail files.
I much prefer the concept of cutting on the cheapest part, so modify the dovetail on the sight, rather than on the handgun. Be careful, because these sights rely on a tight, press fit. If you remove too much metal, the fit might become loose or sloppy.
One old gunsmith’s trick for a loose dovetail sight is to take a prick punch and stipple the bottom of the dovetail. This raises the metal around the stippling and will tighten up the fit.
If the fit is too tight, use the file to reduce the width of the sight’s dovetail very slightly. Take perhaps .005 inch off the sharp edge on both sides on the sight. If the sight still does not fit, work on the slope of the dovetail while making light passes with the file. Add a very slight taper and break the leading edge with a slight radius so it won’t shave metal.
Take very light cuts and try the sight in the dovetail often. If it starts well into the dovetail under stiff finger pressure, it should be fine to install. I know at least one sight maker that says that the sight should go a quarter to a third of the way into the dovetail under finger pressure. Again, and I can’t say this enough, be extremely careful and use light cuts—you can’t replace the metal once it’s gone.
One old gunsmith’s trick for a loose dovetail sight is to take a prick punch and stipple the bottom of the dovetail. This raises the metal around the stippling and will tighten up the fit. I have used this trick on old rifles where the dovetail is worn and on a few newer handguns where somebody (not me) got overzealous with a file.
Center the sight in the slide. This is easy to judge with your eye in bright, even light. The rear sight on a handgun with fixed sights needs to be a bit easier to move than the front sight. This is because with fixed sights, the rear sight will be drifted in the dovetail to adjust point-of-impact for windage.
If the sight is easier to move, it can be done with a punch in the field, where the shooter probably will not have a sight pusher. If the rear sight is not an extra-tight fit, a plastic or brass punch with gentle hammer taps will move the sight. It should not be loose enough to push with your fingers or so tight you need a sight pusher. It’s a fine line to get it right.
Or, use a tool called The Wyoming Sight Drifter which uses spring energy to move the sights, sort of like a slide hammer in reverse. After using it to adjust several dovetail sights I can say with all confidence that it works very well and moves a properly installed sight in a predictable manner, making fine tuning point-of-impact much easier. I believe one belongs in every shooting bag. You can find it at skinnersights.com.

Many new sights come with a small setscrew to lock the rear sight in place once the adjustment is made, so keep that in mind when fitting a rear sight. Always back the screw out so it’s clear before installation. Also, remember, that the setscrew is often tiny and will strip rather easily, so be firm, but gentle, when tightening. Although some sight makers disagree, I like a to put little blue #242 Loctite on the screw threads.
Of course, not all sights—particularly regarding front sights—are in dovetails. So, you may need the help of a gunsmith if the sight is pinned or welded in place. They can remove the sight and cut a proper dovetail for the new sight. Note also that some dovetail sights are locked in place with a pin through the sight and into the slide of the gun. Always remove that pin before trying to move the sight. Sometimes they are hiding under the fiber optic, so remove the slide and look from underneath.
One more note, changing the front sight on a Glock requires a little wrench to remove the screw that holds the sight onto the frame. There really is no viable substitute. They are not expensive, so take a little unsolicited advice: Next time you place an order, get the wrench. There is nothing worse than being in stalemate for a week while you wait for a wrench to be shipped. If you spend a few bucks now and have it in your tool box well in advance, people will think you are a genius. In fact, order two; one for the shop and one for your range bag for sights that become loose while shooting.
Me? I ordered three, because I am going to lose one of them right off the start. It’s just the way it is.


