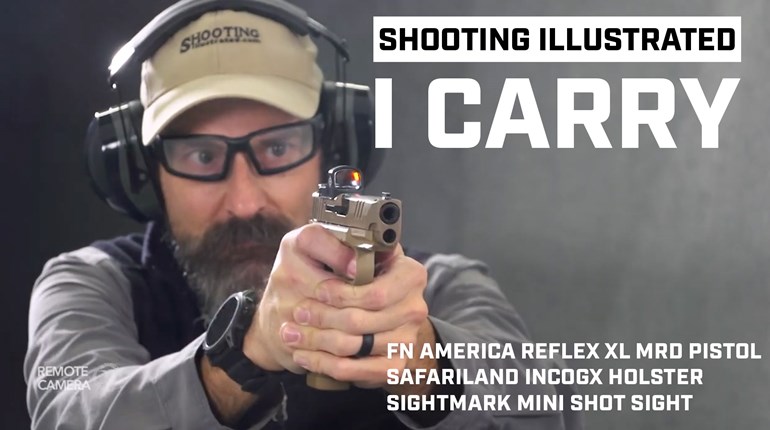
The three most common methods for handgun-slide manipulation require you to position your support hand over the top, behind or under the slide. Then, there is the misused and misunderstood slide-release lever, which is actually a slide lock. I've watched shooters on the range look at their handguns like they were alien life forms when it came time to work the slide, probably because they didn't know how to do so or were not sure which method to use.
If you're going to be proficient with a handgun, you need to be able to hit targets and run your gun. That means loading, unloading and clearing stoppages. If you are a fan of History's "Top Shot" television series, you've seen competitors stumble and even be eliminated because they couldn't run the gun they were given. Here's a look at each method's positives and negatives.
The Slide Release

It's a slide lock, used to lock the slide to the rear during cleaning. It is also activated by the pistol's magazine follower after the last round is fired. During a Class-Three stoppage (double-feed), which is also referred to as an "I'm screwed" malfunction, you should also use this control to lock the slide to the rear.
The positive to deactivating the slide lock to chamber a cartridge is, with many handguns, you can do so with your shooting hand alone. If your support hand is injured, this could be important, but you can also use the sole of your shoe to release or cycle the slide, and you don't need a special rear sight like some argue to accomplish this task. The downside is, in situations of high stress, you might not be able to execute the fine-motor function necessary to depress the slide lock with 100-percent success.
Under

For a time, it was fashionable to place your support hand under the barrel, forward of the trigger, and use your thumb and a finger to pinch the forward portion of the slide to cycle it. This worked reasonably well when the handgun was equipped with forward slide serrations and if the slide was not too difficult to cycle. It's a similar procedure to executing a press check.
With practice, you can become quite proficient with this method, and there is minimal movement required to execute the cycling of a slide in this manner. It also looks like you are executing some cool, ninja move. The problems with this technique are twofold. You do not have a great deal of grasping strength when your palm is facing up. And, under stress, you might accidentally put a bullet through your hand if you allow the appendage to go forward of the muzzle after cycling the slide.
Behind

Many competitive shooters rotate the handgun 90 degrees to the left and grasp the slide between the thumb and fingers of their support hand. Then, they sort of push with their strong hand and pull with their support hand. This affords reasonably good grasping strength and is very fast, because you can keep the handgun extended toward the target and, when you rotate the handgun back, your support hand is there, ready to reacquire your two-hand grip.
Over

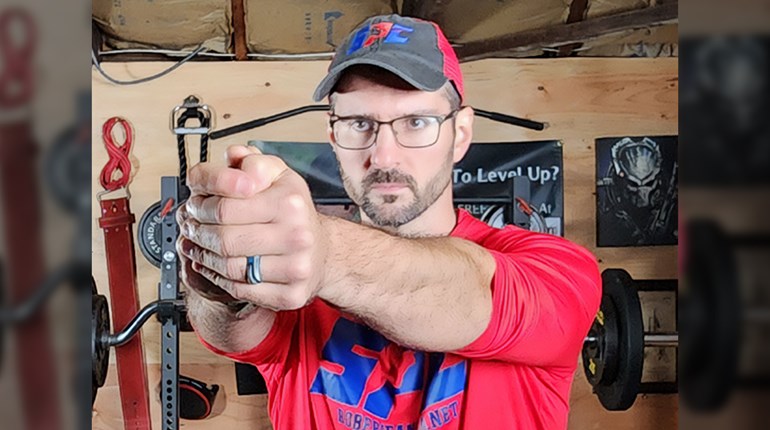
Reaching over the top of the handgun and grasping the slide with the thumb of your support hand pointed toward your chest is the slide-operation method taught at Gunsite. While it may not be as fast as the behind method, this technique gives you the most powerful grip and can only be performed with the handgun relatively close to your body—where the handgun should be when it is not being fired. When executing this technique you need to pull the slide to the rear until it meets resistance and slips from your grip. Your support hand will then continue its reward motion.
A downside is many shooters tend to point the handgun to their support-hand side when executing this technique. This can create a hazard on a range when working in a line of shooters. Ideally, when using this method you should rotate your torso slightly to your strong side and keep the handgun's muzzle oriented down range.
More To It
You must cycle the slide after inserting a fresh magazine into an empty pistol or after loading a handgun you have shot to slide lock. There is good argument for cycling the slide even after you have loaded a handgun that was just fired, even if it was not shot to slide lock. Just because the slide is forward and you think a live round is in the chamber does not make it so. Sometimes slide locks do not work after the last round has been fired, and it's always a good idea to simplify any procedure. Do it the same way, every time.
Additionally, when conducting immediate action for a Class One (failure to feed), a Class Two (stovepipe) or a Class Three stoppage, it's a good idea to respond in kind. In other words, use the same slide-operation technique, always. Why use a different technique when clearing stoppages than you do when reloading?

There's also a good argument against the "From-the-Rear" method when dealing with a stoppage. It might be necessary to tilt the handgun so the ejection port is pointed toward the ground as opposed to the sky. This lets gravity work to your advantage when trying to clear the action. It's almost physically impossible to do this when using the behind the slide technique unless you have a carnival like ability to weave your arms into pretzel-like configurations.
Pick One and Practice
I prefer the "Over-the-Top" method because it seems to be the one that works for every situation. I try to make it a point to use this technique every time I operate a handgun slide, whether I am conducting tactical training, engaging in competition or just checking the status of a handgun.
I'm a simple man and I'm much happier and proficient the less I have to learn and attempt to master. I see no reason to complicate the operation of a simple tool. That's why I am so good at picking my nose and scratching my backside. I do it the same way every time.


