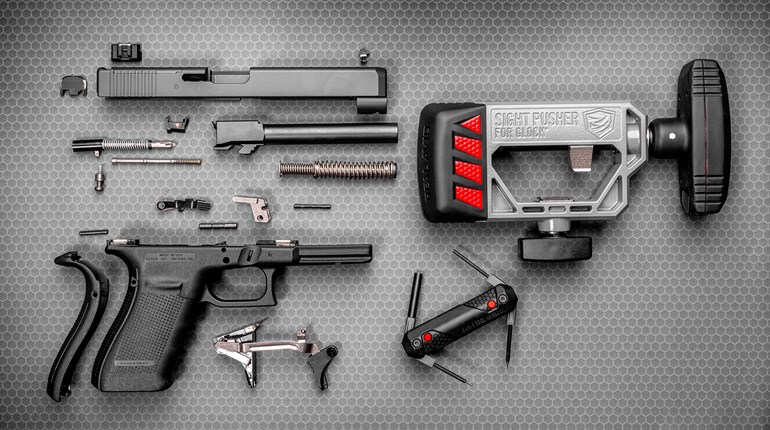
Begin by laying the trigger-mechanism housing right side up on your workbench, use a punch to seat the connector in place. (Note: Failure to fully seat the connector could damage the trigger-group components, so make sure it is seated flush against the trigger-mechanism housing when installing it.)

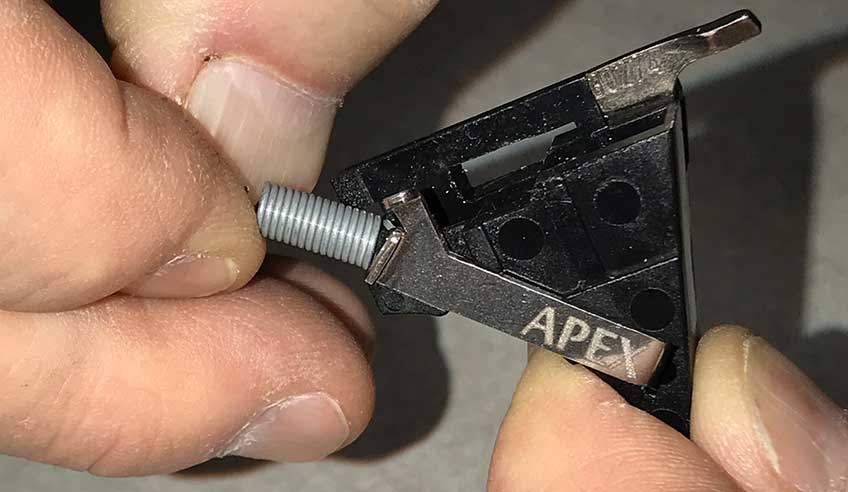
While holding the bottom of the trigger-mechanism housing between your thumb and index finger, hook the opening of the coil-trigger spring into the hole located on the rear portion of the trigger-mechanism housing. Next, rotate the 90 degrees and hook the other end of the spring into the hole located in the trigger bar. (Note: When oriented/installed correctly the coil spring should resemble the letter “S.”
Next, while grasping the trigger-bar show with your other hand, bring the trigger bar down so the cruciform (or cross-shaped) portion of the trigger bar starts into the hole in the top of the trigger-mechanism housing.

Finally, rotate the trigger bar down and into to position. The trigger module is now completely assembled.
The next installment with cover reassembling the frame.