Since we can't avoid the dark we have to learn how to live in it safely, and that requires light. One of the prime tenets of shooting in a self-defense situation is identifying the threat before shooting in the dark. To keep your backside out of the clink for shooting a not-so-bad guy, you'll need light. To aim in the dark, you'll need light. The trick is getting your flashlight and your gun on target quickly.
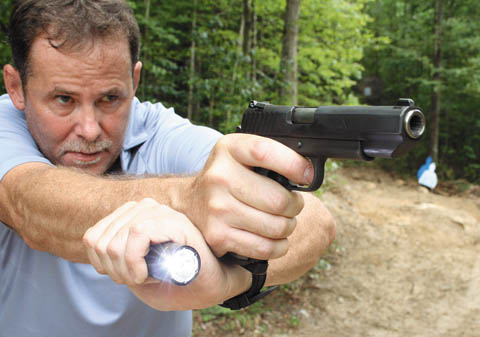
Gunsite teaches a number of flashlight shooting techniques, but the one that works with the widest variety of lights is probably the Harries technique, which allows a flashlight to be incorporated into the Weaver shooting stance. The light is held in the support hand like a hammer with the bezel down. Place your support-hand wrist under your strong-hand wrist and bend it upward, locking the backs of your hands together. The activation switch can be operated with the thumb if it's on the tail cap, or one of the fingers if it's on the flashlight body.
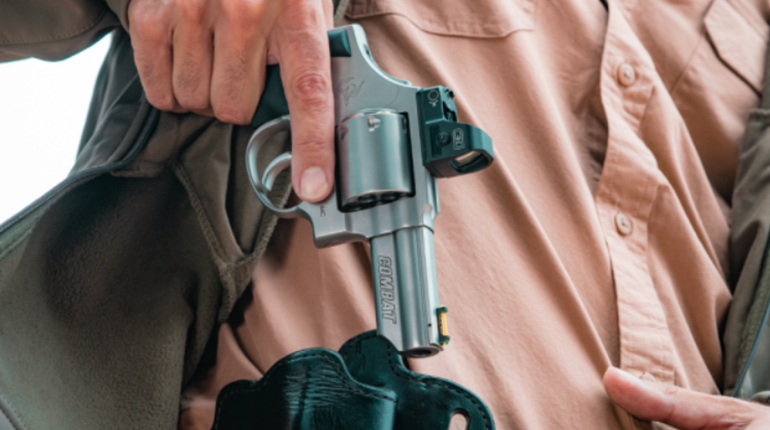
The key is getting into this position swiftly and safely. As you start the draw, bring the flashlight to the neck-index position, just below your chin with the light oriented toward the threat. This is similar to bringing your support hand to the center of your chest, but it allows you to keep light on the threat.
Then, from the holster, present your handgun to the target. Once your strong hand is extended, slip your support hand under your strong hand and lock your wrists. This keeps your support hand from passing in front of the muzzle as the handgun is drawn. Since the light is already on target at the neck-index position, you can see and engage the threat before employing the Harries technique if the situation dictates.
Rehearse this technique with an unloaded handgun and when you feel efficient, go to the range for live fire. Practice in moderate to low light at first, so you can see what you're doing. When you can smoothly employ the Harries technique, try it in total darkness. For a test, set a silhouette target at 7 yards. Starting with the light in your support hand, draw and engage the target with one shot. Do this 10 times from the neck-index position and 10 times using the Harries technique. Use a shot timer and record your times. Only count those shots when you hit the target.
Your times using the neck-index method should be about 1 second faster than when employing the Harries technique. If your average times using the Harries technique are under 3 seconds, you're ready to fend off Dracula. If your times are between 3 and 5 seconds, keep practicing. If it takes you more than 5 seconds, stay off the mean streets and out of graveyards when it's dark, hire Van Helsing as a bodyguard or hope it's Vampira coming for you.


