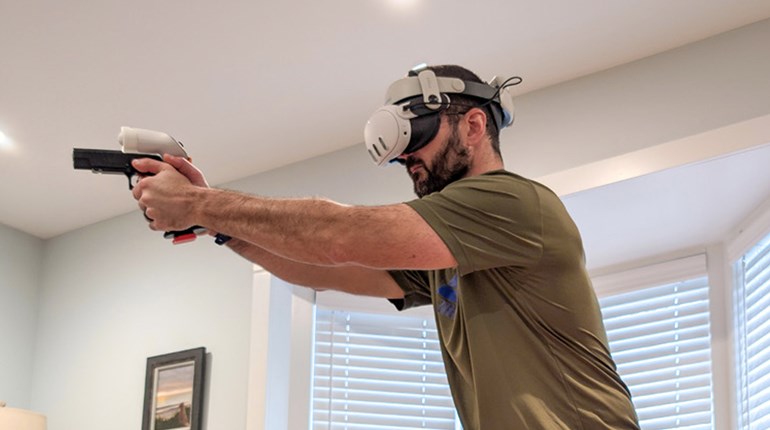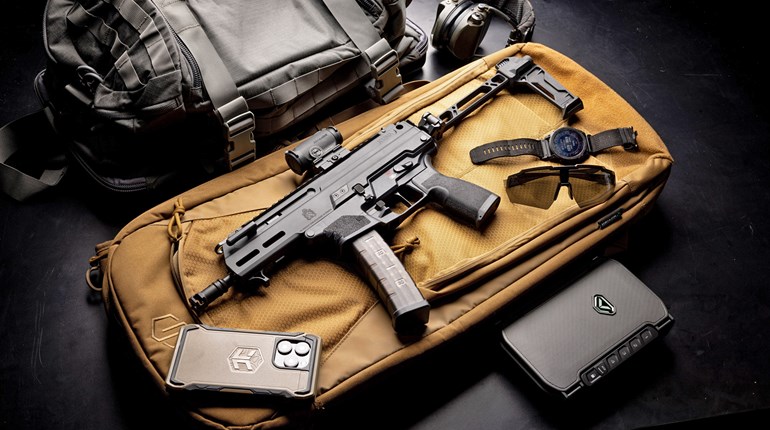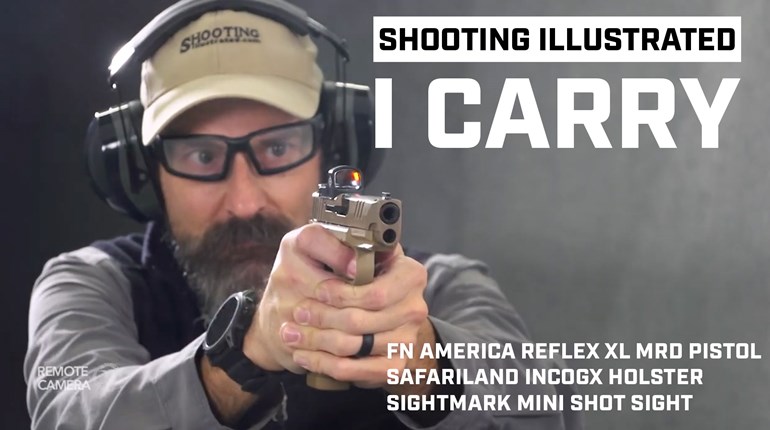
Having mastered a proper shooting stance, we move forward into properly gripping and presenting our firearm to the target. Don't worry about holster use yet; I'll cover that in the next section. Shooters must realize that being accurate and smooth are like pieces of a puzzle. If one of these pieces is missing, it's never a complete picture. With this in mind, we need to think of our overall shooting ability as a puzzle. The pieces are our stance, grip, trigger press, proper sight alignment and follow-through. Utilizing these basics, consistently and in the correct sequence, helps us to be the best shooter we can be. So, let's maximize our personal abilities.
How do you properly grip the gun? Remember to try and cover as much grip area on the firearm with your hand as you can. The web of the hand should be as high up the grip as it can be. On a 1911-style pistol, this would mean no gap whatsoever between the web of the hand and the beavertail grip safety. On any other type of semi-auto pistol, there should be no gap between the hand and the area just below the rear of the slide.
The index or trigger finger should be relaxed and rested against the frame on an index point. I like to use the slide-lock pin, but any point on the frame where you can consistently place your finger when not on the trigger will work just as well. The three remaining fingers (middle, ring and pinky) are used to hold the gun. There should be no pressure on the firearm at all with the thumbs. In other words, you are using the middle, ring and pinky fingers in a forward to rearward grip to "seat" the gun in your palm. For a right-handed shooter, your left, or support hand, is used to control the gun. Place your left hand over your right with your index finger placed under the trigger guard, while maintaining contact. Keep your finger off the front of the trigger guard—remember, this isn't the movies. It may look cool, but it only harms accuracy. The remaining fingers should lie over the knuckles of the right hand. The left-handed grip pressure should be applied like a clam shell, squeezing in a left to right motion with as much pressure as you can apply without having hand tremors.

Your support hand is what controls any and all recoil. Never lock your elbows or shoulders to control recoil. By doing so, you'll only serve to push yourself backward. Think of your elbows as your shock absorber, while a proper grip is what controls the felt recoil of a handgun. A tense shooter is a tired shooter. A relaxed shooter is an accurate shooter.
Did I forget to mention your thumbs? Forget you have 'em. The only thing the thumb should do is engage or disengage a manual safety or depress the magazine release. There should never be any applied pressure to the handgun slide or frame with your thumbs.
Now that we have read the basics of stance and grip, let's try putting the two together. If you don't have a practice-type red or blue gun and wish to practice with your real gun, physically and visibly inspect your firearm to ensure it is unloaded. Designate a room where there is no live ammunition present, ever, and this is where you'll practice.
OK, let's practice. This is simple: Facing the wall, set your grip, finger off the trigger and placed on an index point on the gun's frame. The support hand is locked over the strong hand, thumbs both pointing forward, the strong-hand thumb over the weak with no applied pressure on the gun. (Hint: when the grip is properly used, the strong-hand trigger finger and the tip of the weak-hand thumb should be nearly aligned on either side of the gun.)
Now, pick a target on the wall. I like to use a thumb tack or piece of tape. With your eyes focused on that target, slowly bring the sights up to interrupt your line of vision. Then, transfer your focus from the target to the front sight. Yes, the target will appear blurry. Practicing this will get you used to changing your point of focus and make drawing from a holster, while maintaining focus on your target a bit easier. I like to practice for at least 10 to 15 minutes per day to maintain my skill level or even improve my abilities.
Next time, I will examine holster selection and the use thereof.


