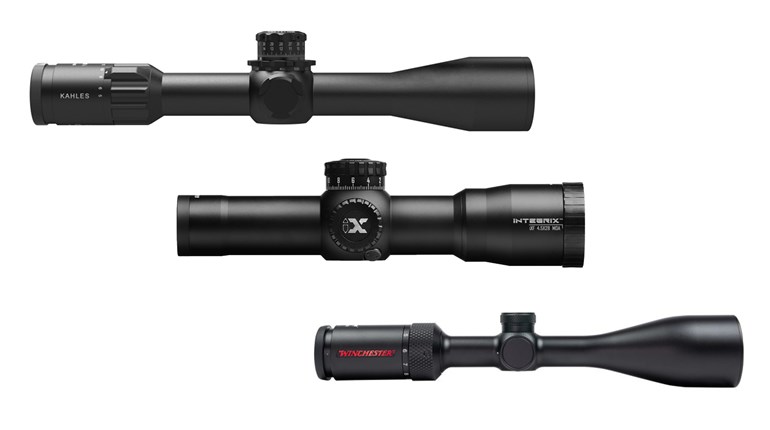
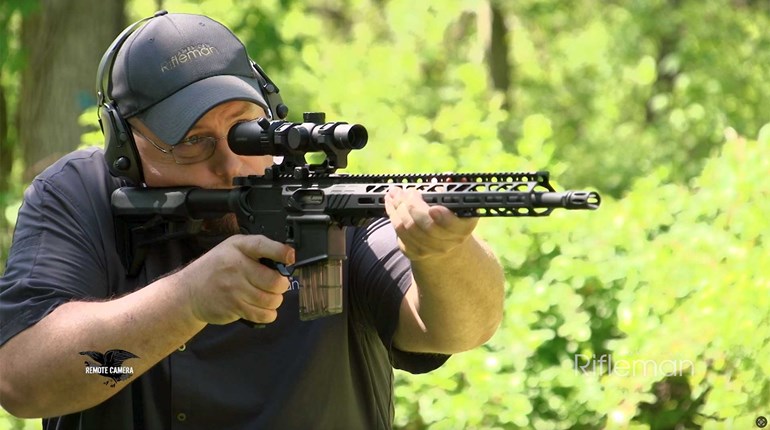
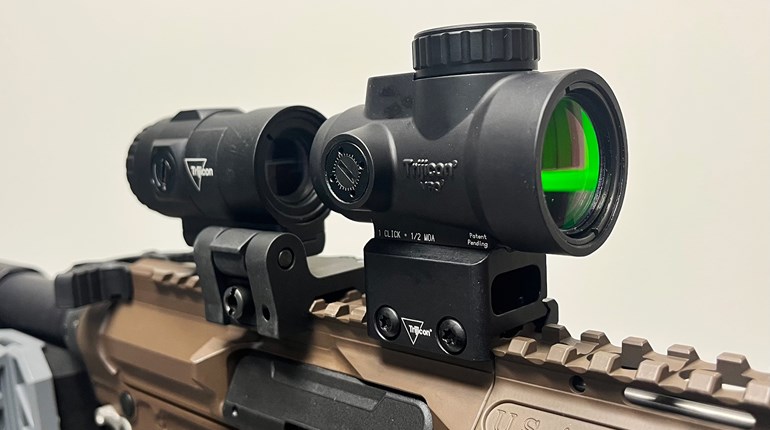
Back in my military days, range time was a real commodity and the less of it spent re-zeroing a firearm, the more time I had to actually send useful rounds downrange. A number of techniques and devices were used to speed up the zeroing process, including laser bore-sighters, old-school collimators, shooting at dirt clods or simply moving closer to a target to get on for windage and close for elevation. However, I always found that a simpler method required no additional equipment and reduced the amount of ammunition used: bore-sighting by eye. You must have a rifle or carbine that can be disassembled to the point where the shooter can look through the optic (or iron sights) and the bore to use this technique. ARs, H&Ks, FALs, bolt-actions, break-actions and even some lever-actions fit this category.

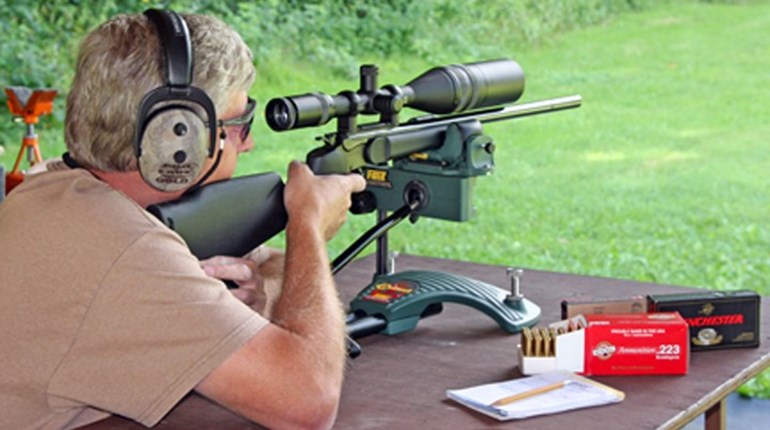
The process of eyeballing the initial zero is pretty straightforward. The rifle is first opened up and placed in or on a steady rest. If a magnified optic is in use, it's easiest to dial down to the lowest power for this step. I first view through the scope to get in the vicinity of the target, making crude adjustments to the rifle as needed.
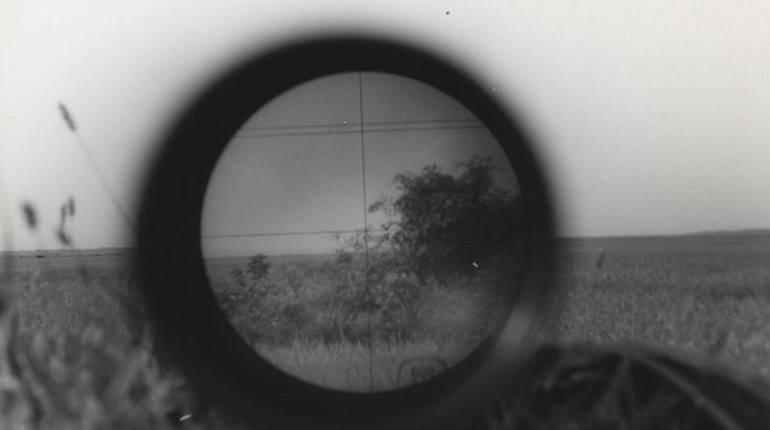
Then I look through the bore with one eye and center an object at the target line within the bore image. When viewed from the rear like this, you can see the lands and grooves of the rifling around the periphery of the bore. I use this periphery to frame the bore so that it is exactly centered in the field of view. Your aiming point can be anything that stands out well enough to see through the tiny hole at the muzzle. I used a black bull target for contrast, but usually find it easier to use a corner of the target frame, quartering the circle formed by the bore.

Once I have the bore line adjusted to the visual aiming point at my target distance, I carefully—without moving the rifle—adjust the scope's knobs to mate the reticle center up with that same point. It is a trial-and-error process at first, but after doing this for many years I can perform this bore-line zero in a few short seconds with most rifles.
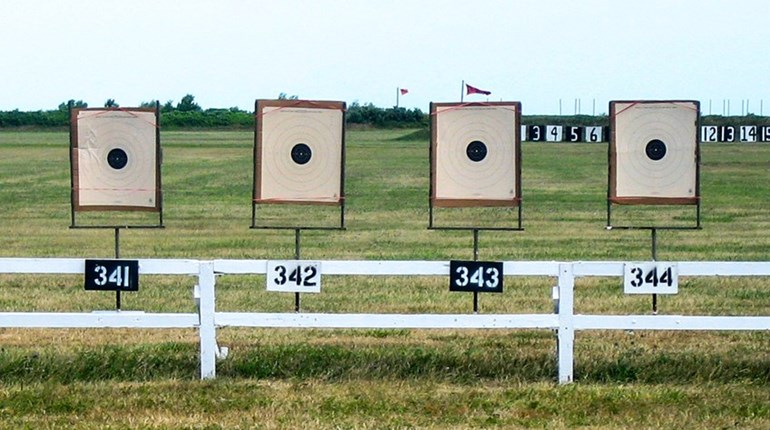
After mating the lines of bore and sight, I reassemble the rifle, dial my scope's power back up and fire a single test shot at my actual target (not always the same item I eyeball zeroed to). Nine times out of 10, that shot will be within 6 inches of my point of aim. Every once in a while, the first shot will be closer to 12 inches out and on rare occasion, I need to repeat the process to get on paper. When the latter occurs, it is always because I got sloppy with my initial attempt to dial in the scope.

An additional benefit of this bore sighting technique is that you get a final visual check of the bore before firing. I patch my barrels before shooting whenever possible, so I like to double-check for obstructions prior to going hot.
I've lost count of the number of times that I've watched someone chase rounds around a target frame, alternating between reloads and cusswords as they try to figure out where they are in relation to their point of aim. I usually offer to help out and demonstrate this simple technique, often to the astonishment of the shooter once they see their first round on paper. On rare occasion my first shot will be within an inch of center and I actually appear to be competent for that brief moment in time. I usually scurry away quickly before the other shooter has time to learn the real truth…