Whether drawing your handgun from its concealed or open-carry position, a well-defined shooting process describes rapid deployment with accurate on-target round placement. To facilitate this demand requires that all tasks be carried out correctly and with no wasted movement.
The three important fire control elements of a rapid and accurate handgun presentation from the holstered position are, listed in shooting performance order: grip control, hold control and creep control.
Grip Control
In strong-hand supported (both hands) shooting, grip control comprises a two-part process – establishing an initial strong-hand grip and then establishing a two-handed grip with a terminal objective of muzzle stability.
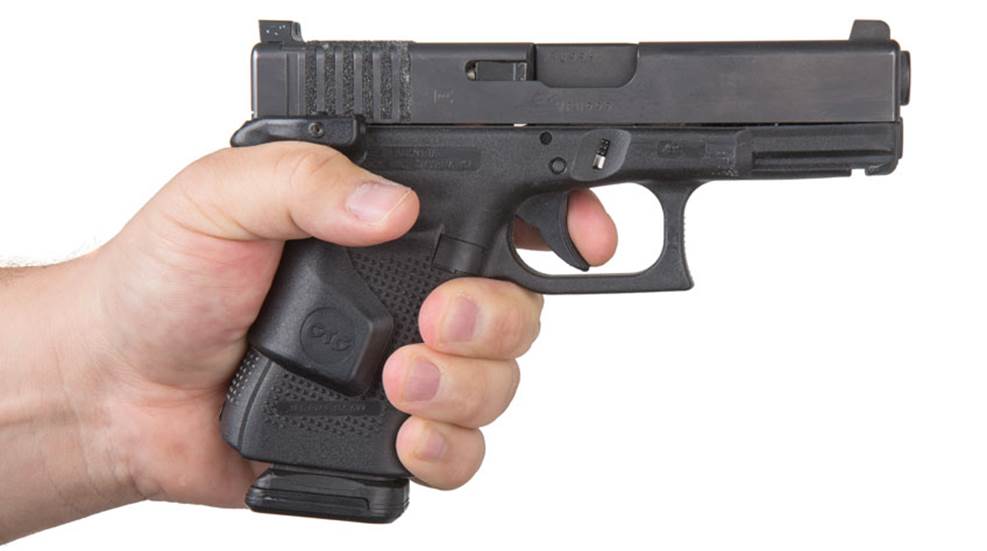
Paramount to stability is the initial grip purchase on the handgun when it’s in the holster. If you open carry, then it’s simply a matter of seating your palm firmly against the backstrap with the web of your thumb situated up high nearest the bore line all the while disengaging any holster retention devices along the way.
At the finish point you want your lower three fingers firmly wrapping around stocks and straps to establish as much surface contact as possible. More contact equals more control. The recommended timing for an open carry strong hand-only initial grip falls within the range of about 1/10- to about 15/100-second.
If you carry concealed, your primary objective is to first clear your cover garment, then work your thumb in between your body and gun to facilitate seating your palm firmly against the backstrap with the web of your thumb up high nearest the bore line, disengaging any holster retention devices along the way.
Like open carry, when drawing from concealment, you also want maximum contact with any available strong hand surface. The recommended timing for a concealed carry strong hand-only initial grip falls within the range of about 15/100- to about 20/100-second.
If shooting with both hands is your objective, then immediately upon your initial grip being established you want to draw that muzzle with maximum speed capable of your body using your proprioceptors to guide that muzzle directly toward the target in the shortest distance between two points – the forward edge of your holster and the intended target.
Somewhere along that trajectory you will want to link up your support hand with your strong hand. The objective here is to complete a seamless link which means that there is little or no “tremor” (pulling your muzzle off its intended trajectory) prior to the completion of your two-handed grip. With both hands linked you have effectively stabilized and initially oriented your muzzle with the target.
Hold Control
Once you have completed building stability, your eyes will then verify via some method of alignment reference. One such reference may be kinesthetic (no sights – by feel only) where your visual focus remains on the target.
Another reference might be a crude peripheral reference (back of the slide enters into your peripheral field of vision) where you pick up a minimal visual reference. Still another may be where you are employing iron sights (soft or hard front sight focus) or dot (flash or textbook sight picture).
Regardless of, and immediately following, said reference you want to maintain muzzle stability and alignment throughout the shot all the way through and including the break. This is the very definition of hold control – to keep your muzzle within the margins of an acceptable arc of wobble on the target.
Maintaining hold control is secondary to grip control in that you must initially establish grip control prior to establishing hold control but not at the price of altering your grip. Changing hand position or even the slightest change in grip pressure can compromise your grip control and add undesired input into the gun causing movement outside your acceptable arc of wobble.
Creep Control
Last, but most certainly not least in the process is creep control. In addition to grip control and hold control, there must be commensurate trigger control.
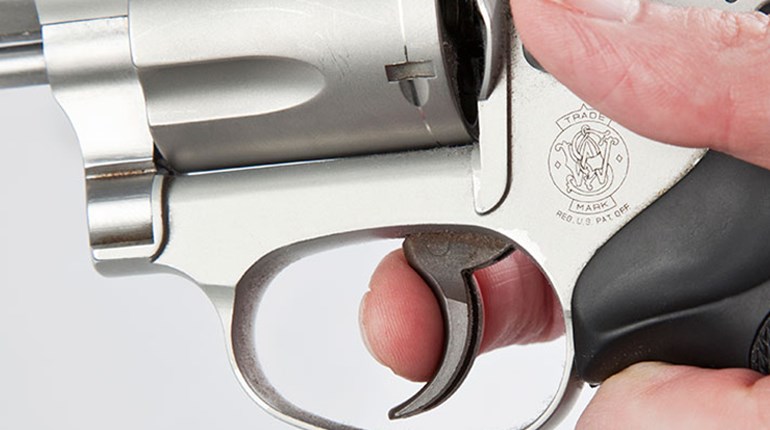
The most discussed subcomponent of trigger control is getting to the wall (a term coined by famed competition champion shooter Rob Leatham describing a trigger position where you apply enough trigger pressure up against trigger pull weight resistance).
A not-so commonly discussed subcomponent of trigger control is that part of the press where just after the wall (some say part of the wall) is where the trigger moves (creeps) ever so slightly eventually exerting enough pressure to release the sear causing primer ignition.
At the moving trigger position between wall and break affectionately known as “creep” you can’t just haphazardly breeze through this position. Like every other aspect of controlling your handgun it requires a specific amount of control to manage breaking the shot.
Although there are some exceptions based on make, model and trigger jobs, the most common trigger positions are at rest, slack, wall, creep, break, over travel, (pinned to the) back of trigger guard, return travel, reset comprising nine distinct trigger positions.
Given these nine positions, the most discussed are the wall, break, under/over travel and reset. The least talked about is creep control.
Albeit a subcomponent of the overall fire control process, it is an essential trigger press detail requiring just as much discipline as any other position. The best shooters in the industry will tell you that “The devil is in the details.”
Creep control is one of those often-overlooked trigger control details that, given sufficient work, can help convert a good shooter into a great shooter.


