Parts
Bolt carrierBolt assemblyBolt cam pinFiring pinFiring-pin retaining pinCharging handleCharging-handle latchCharging-handle springCharging-handle latch pin
Tools
1⁄16-inch roll-pin punch1⁄16-inch roll-pin holder punchBrass or plastic hammerBrownells bench block
Push the bolt into the bolt carrier from the front, making sure the extractor is oriented to the right side. Drop the bolt cam pin through the hole in the bolt carrier and rotate it a quarter turn. Slide the firing
Push the bolt into the carrier from the front, making sure the extractor is oriented to the right side. Drop the bolt cam pin through the hole in the bolt carrier and rotate it a quarter turn. Slide the firing pin into the bolt from the rear. Insert the firing pin retaining pin through the bolt carrier. Make sure the head of the pin matches with the large recess on the left side of bolt carrier, so that it is below flush when installed.
The charging handle is easy to assemble. Start the latch retaining pin in the charging handle. It will help to use a 1⁄16-inch roll-pin holder punch to start the pin. Place the spring in the charging handle, and insert the latch into its slot. Hold the latch under spring pressure so the holes for the retaining pin are lined up, and tap the pin home using a 1⁄16-inch roll-pin punch. You can use a 1⁄16-inch punch as a slave pin if you have trouble lining up the holes.


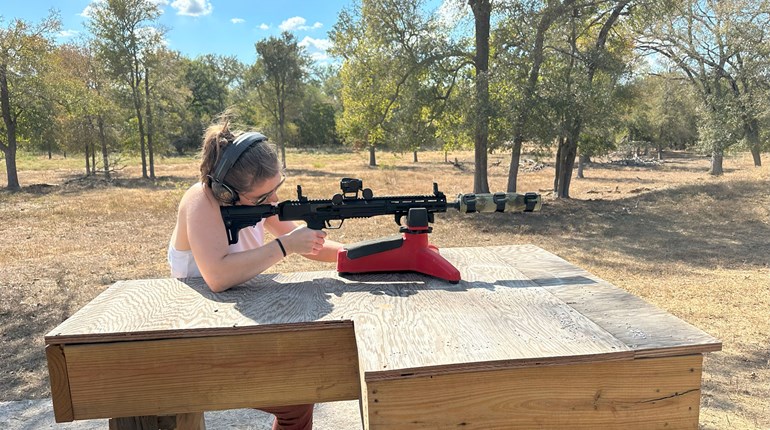
Function Check: Install the charging handle by placing it in its slot in the receiver. Pull the bolt forward in the carrier, and place the carrier into the receiver so that its gas key rides in the trough on the underside of the charging handle. Make sure the carrier and the charging handle can move in the receiver without any problems. Then take both parts out and set them aside.
Budget Buster
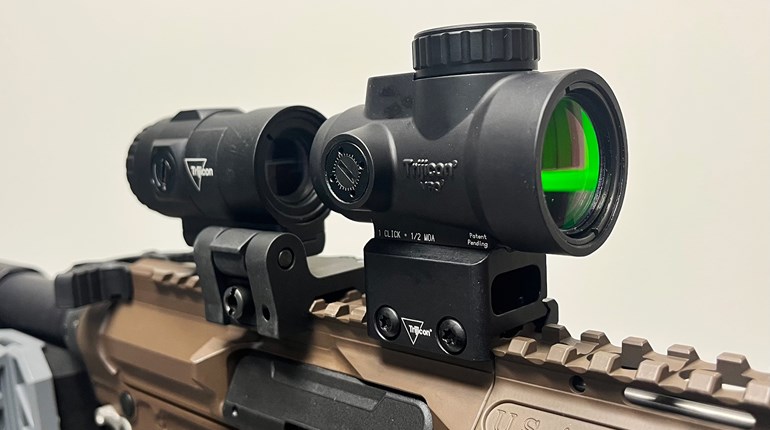
Traditional optics can make it hard to reach the charging handle. I replaced the conventional latch that came with the High Standard charging handle with an extended Badger Ordnance tactical latch for easier operation. Brownells sells it for $19.99—almost the price of the complete High Standard assembly, but well worth it.