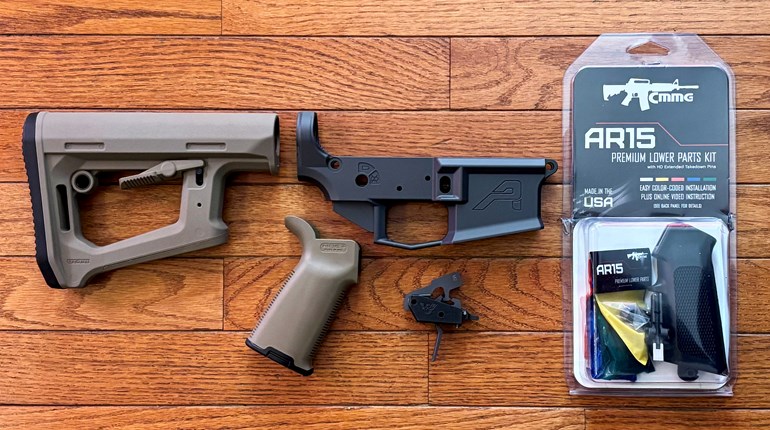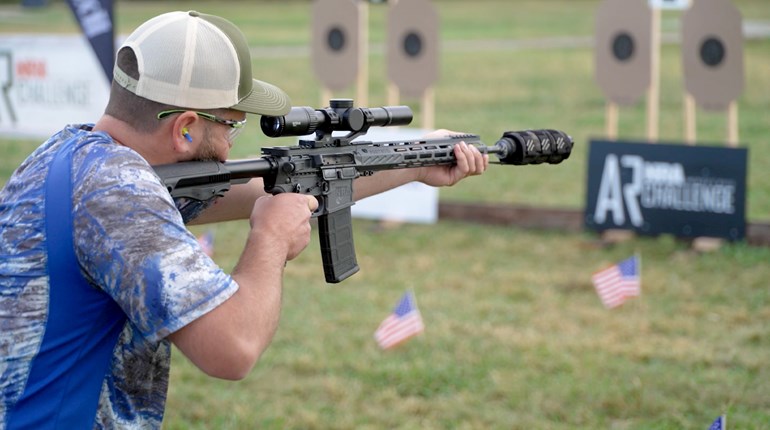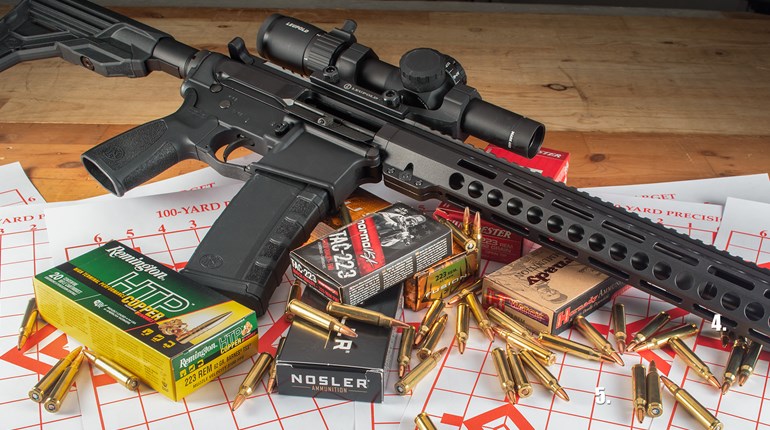
Since the rifle I’m building is destined for hunting, precision accuracy is of great importance, therefore, sharing it with one of my NFA-registered lowers is not a good idea, given the loose tolerances that will develop resulting from frequent attachment/removal of the upper and lower halves. Therefore, a better idea would be to build its own designated lower, figure a way to tighten the tolerances between the receivers and to minimize separating the receivers once they’re together.
The lower starts with a receiver I selected a stripped variant made by Spikes Tactical, along with a DPMS lower-parts kit for the remaining components necessary to complete the project—barring a few substitutions. While Towsley recommends installing the trigger group first, Grazio and I opted to knock out the more difficult task of installing the bolt, as he and I loathe setting roll pins and approach it with the same degree of disapproval as Jake and Elwood have for Illinois Nazis. The necessary parts and tools are listed below:
Parts
Bolt Catch Bolt-Catch Pin (the smaller of the two roll pins in the kit)
Bolt-Catch Plunger Bolt-Catch Spring (easily confused with the disconnector spring, although the disconnector spring is wider on one end)
Tools
Small hammer, plastic and brass tipped preferred
3S pin holding punch (optional)
3/32-inch roll pin punch
Brownells Bolt Catch Pin Punch (optional)
Painter's tape
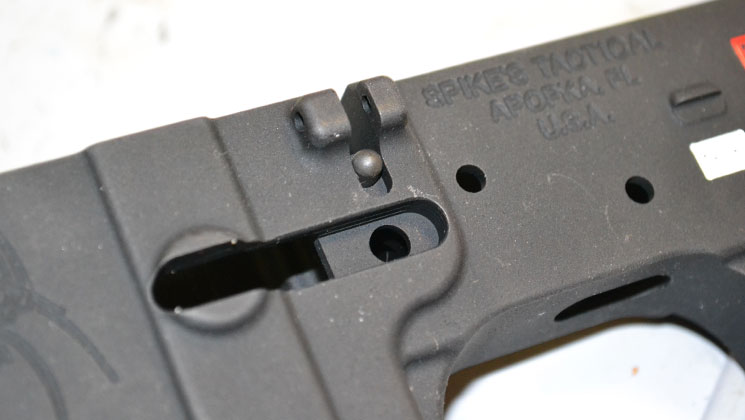
Mask the area in front of the bolt-catch housing with painter's tape to minimize marring your receiver unnecessarily. Insert the rolled pin into the pin-holding punch, or hold it with needle nose pliers as you start it into the rear side of the pin hole, tapping lightly with the hammer to start it in the hole. Place the spring in the hole centered under the bolt catch and follow with the plunger. Install and push down on the bolt catch to compress the spring and insert the Brownells Bolt Catch Pin Punch from the left to act as a slave pin.

This tool is machined to allow using it from the left side as a slave pin or to remove an installed bolt-catch pin by driving the pin out to the rear. Without, it you risk scratching the finish on the receiver. Towsley punctuates his point saying, “Trust me, I speak from experience and have gotten very good at touching up the marks. But they will always show, so not scratching the finish is a much better option.”
Using the 3/32 roll-pin punch and hammer, drive the roll pin into place, using it to push the slave pin out. Insert the pin deep enough so that it is of equal depth on each side.

Function Check
For now, make sure the bolt catch operates smoothly and does not hang up or bind. You will test it further once the upper is installed. Though it’s not difficult as it is time-consuming and potentially frustrating, with installation of the bolt catch out of the way, I’d like divert from the order of Towley’s piece once more. The next entry will cover what I consider to be the second most challenging aspect of building an AR lower: installing the dreaded pivot pin.


