Without question, any professionally built 1911 must have that quintessential crisp trigger pull that breaks like a glass rod. The question is how to do it yourself without butchering a hammer and sear only to find yourself out a couple hundred dollars?
One possible solution would be to take your pistol to a gunsmith and pay him for the trigger pull you want (not to mention the peace of mind that comes with it.) And there’s nothing wrong with that. There’s another way, however, one that is equally exercises common sense, gun safety and the sense of accomplishment gunsmiths prefer.
First, spend the extra money and buy a set of pre-fitted firing-control components, from companies such as Cylinder & Slide, Nowlin Arms or Wilson Combat. These already-prepped kits are pre-ground and include springs that are already tensioned ready to install and—get you close to the crisp trigger pull you want—with less work. (Minor fitting is still required.)
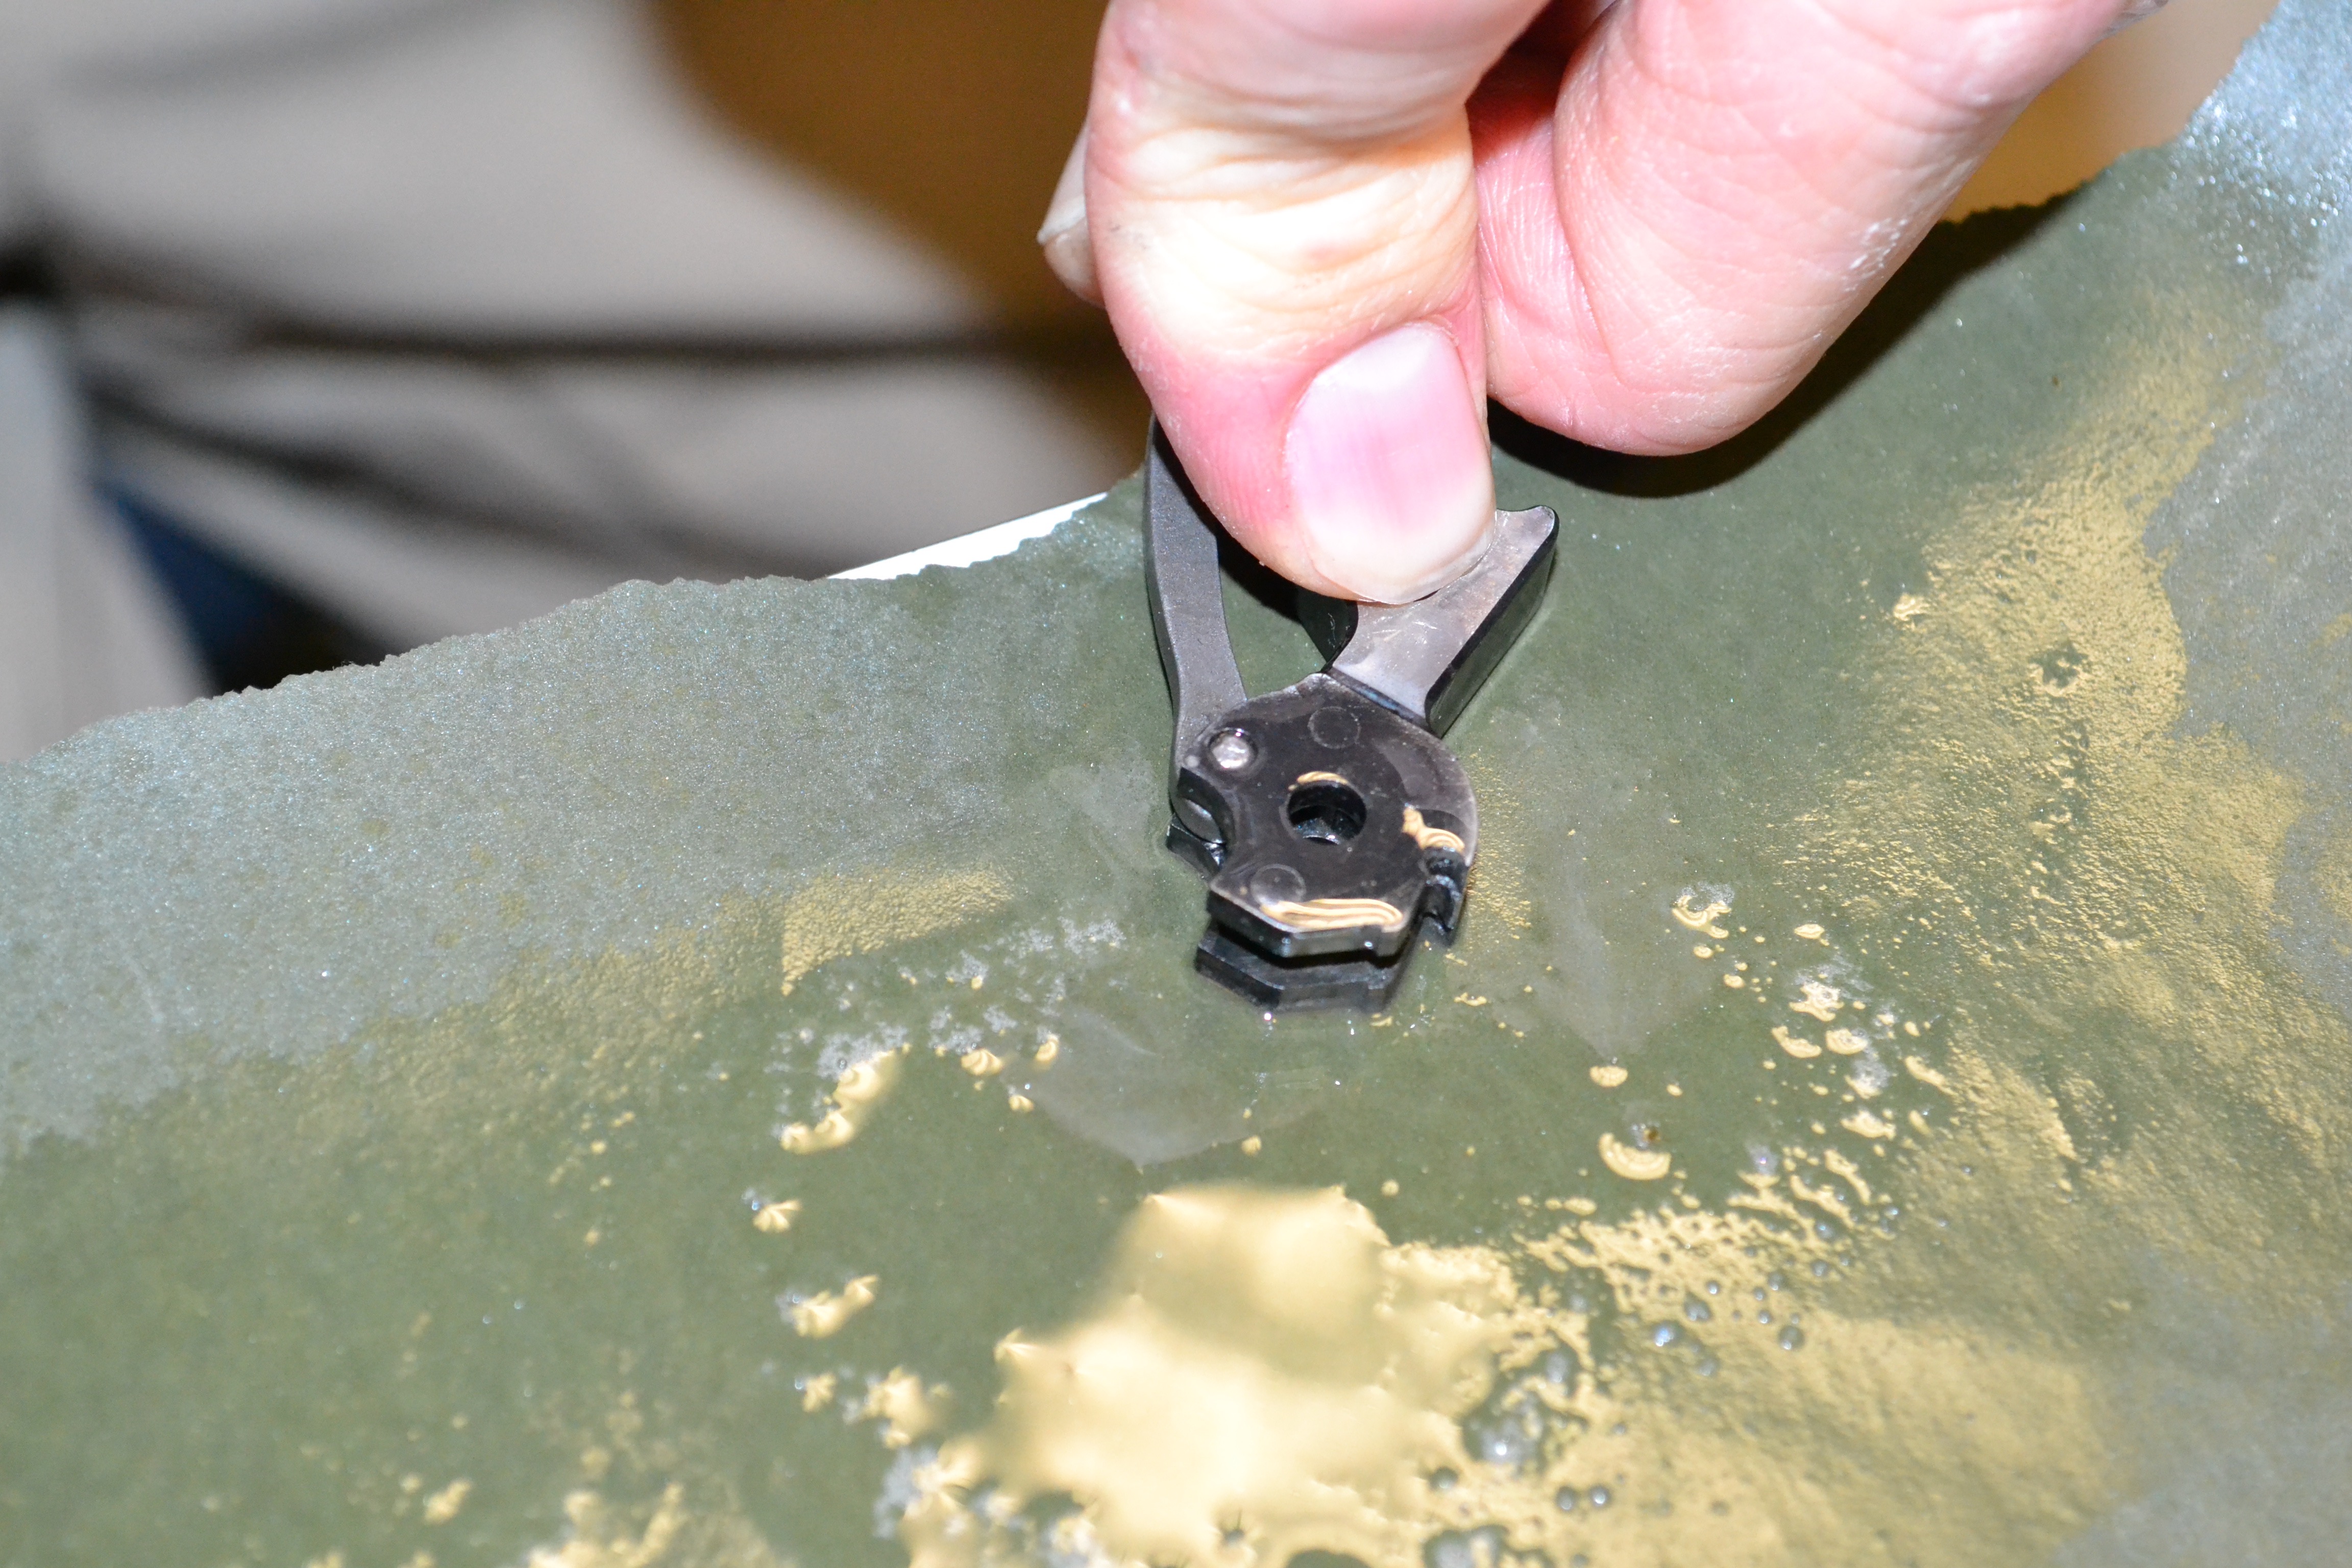
Gary Smith at Caspian Arms urged polishing the sides of the hammer to make sure it doesn’t drag on the inside surfaces of the frame as it travels along its arc, from its cocked position until it strikes the firing pin. (Therefore, taking the time to polish the sides of all the parts involved: the hammer the hammer pin the hammer strut, the sear, the disconnector, the disconnector pin and the trigger not only removes any unwanted burrs, it serves to ultimately minimize friction between the aforementioned parts, where they bear against themselves and inside the frame. Starting with 800-grit paper, add a drop of oil or grease, lay it flat on your work bench and lightly sand the sides of each of the parts until the sides is devoid of unwanted tool marks and each possess a mirror-like sheen. Remember, you’re only polishing the sides of the parts, and the shanks of the pins. (Steer clear of the hammer hooks and the sear nose.) To prep the disconnector, lightly polish the front surface of the part that touches the rear of the trigger bow and the rear surface that touches the disconnector leaf of the mainspring.
Does that mean you should polish inside the frame as well, where the parts will reside? It couldn’t hurt. If nothing else, chuck a deburring wheel in you a Dremel and lightly go over inner area of the frame at low speed. Gary Smith also suggested putting the mainspring housing in a vise and polishing the inside of the mainspring housing channel using a Brownells Medium Mainspring Housing Hone chucked in a drill. After looking down inside the part I bought, I immediately saw why. The inside of the housing looked as though it was cut by a coarse drill bit that left a ton of corkscrew-shaped tool marks behind to impede against the mainspring cap. Adding oil to the hone helped to smooth out the area.
Taking such collective measures to reduce friction against the parts is an easy way to improve a 1911’s trigger pull without the potential pitfalls that come with modifying hammer or sear geometry. Regardless, there are those who consider this a mere “fluff-and-buff” trigger job for that reason. Rather, the reality is it’s a series of steps toward getting the trigger pull you want without opening yourself to damaging parts or compromising safety. However, the next entry will be for the geometry-obsessed tinkers out there, in that it will cover a way to address those angles safely.
One possible solution would be to take your pistol to a gunsmith and pay him for the trigger pull you want (not to mention the peace of mind that comes with it.) And there’s nothing wrong with that. There’s another way, however, one that is equally exercises common sense, gun safety and the sense of accomplishment gunsmiths prefer.
First, spend the extra money and buy a set of pre-fitted firing-control components, from companies such as Cylinder & Slide, Nowlin Arms or Wilson Combat. These already-prepped kits are pre-ground and include springs that are already tensioned ready to install and—get you close to the crisp trigger pull you want—with less work. (Minor fitting is still required.)
Gary Smith at Caspian Arms urged polishing the sides of the hammer to make sure it doesn’t drag on the inside surfaces of the frame as it travels along its arc, from its cocked position until it strikes the firing pin. (Therefore, taking the time to polish the sides of all the parts involved: the hammer the hammer pin the hammer strut, the sear, the disconnector, the disconnector pin and the trigger not only removes any unwanted burrs, it serves to ultimately minimize friction between the aforementioned parts, where they bear against themselves and inside the frame. Starting with 800-grit paper, add a drop of oil or grease, lay it flat on your work bench and lightly sand the sides of each of the parts until the sides is devoid of unwanted tool marks and each possess a mirror-like sheen. Remember, you’re only polishing the sides of the parts, and the shanks of the pins. (Steer clear of the hammer hooks and the sear nose.) To prep the disconnector, lightly polish the front surface of the part that touches the rear of the trigger bow and the rear surface that touches the disconnector leaf of the mainspring.

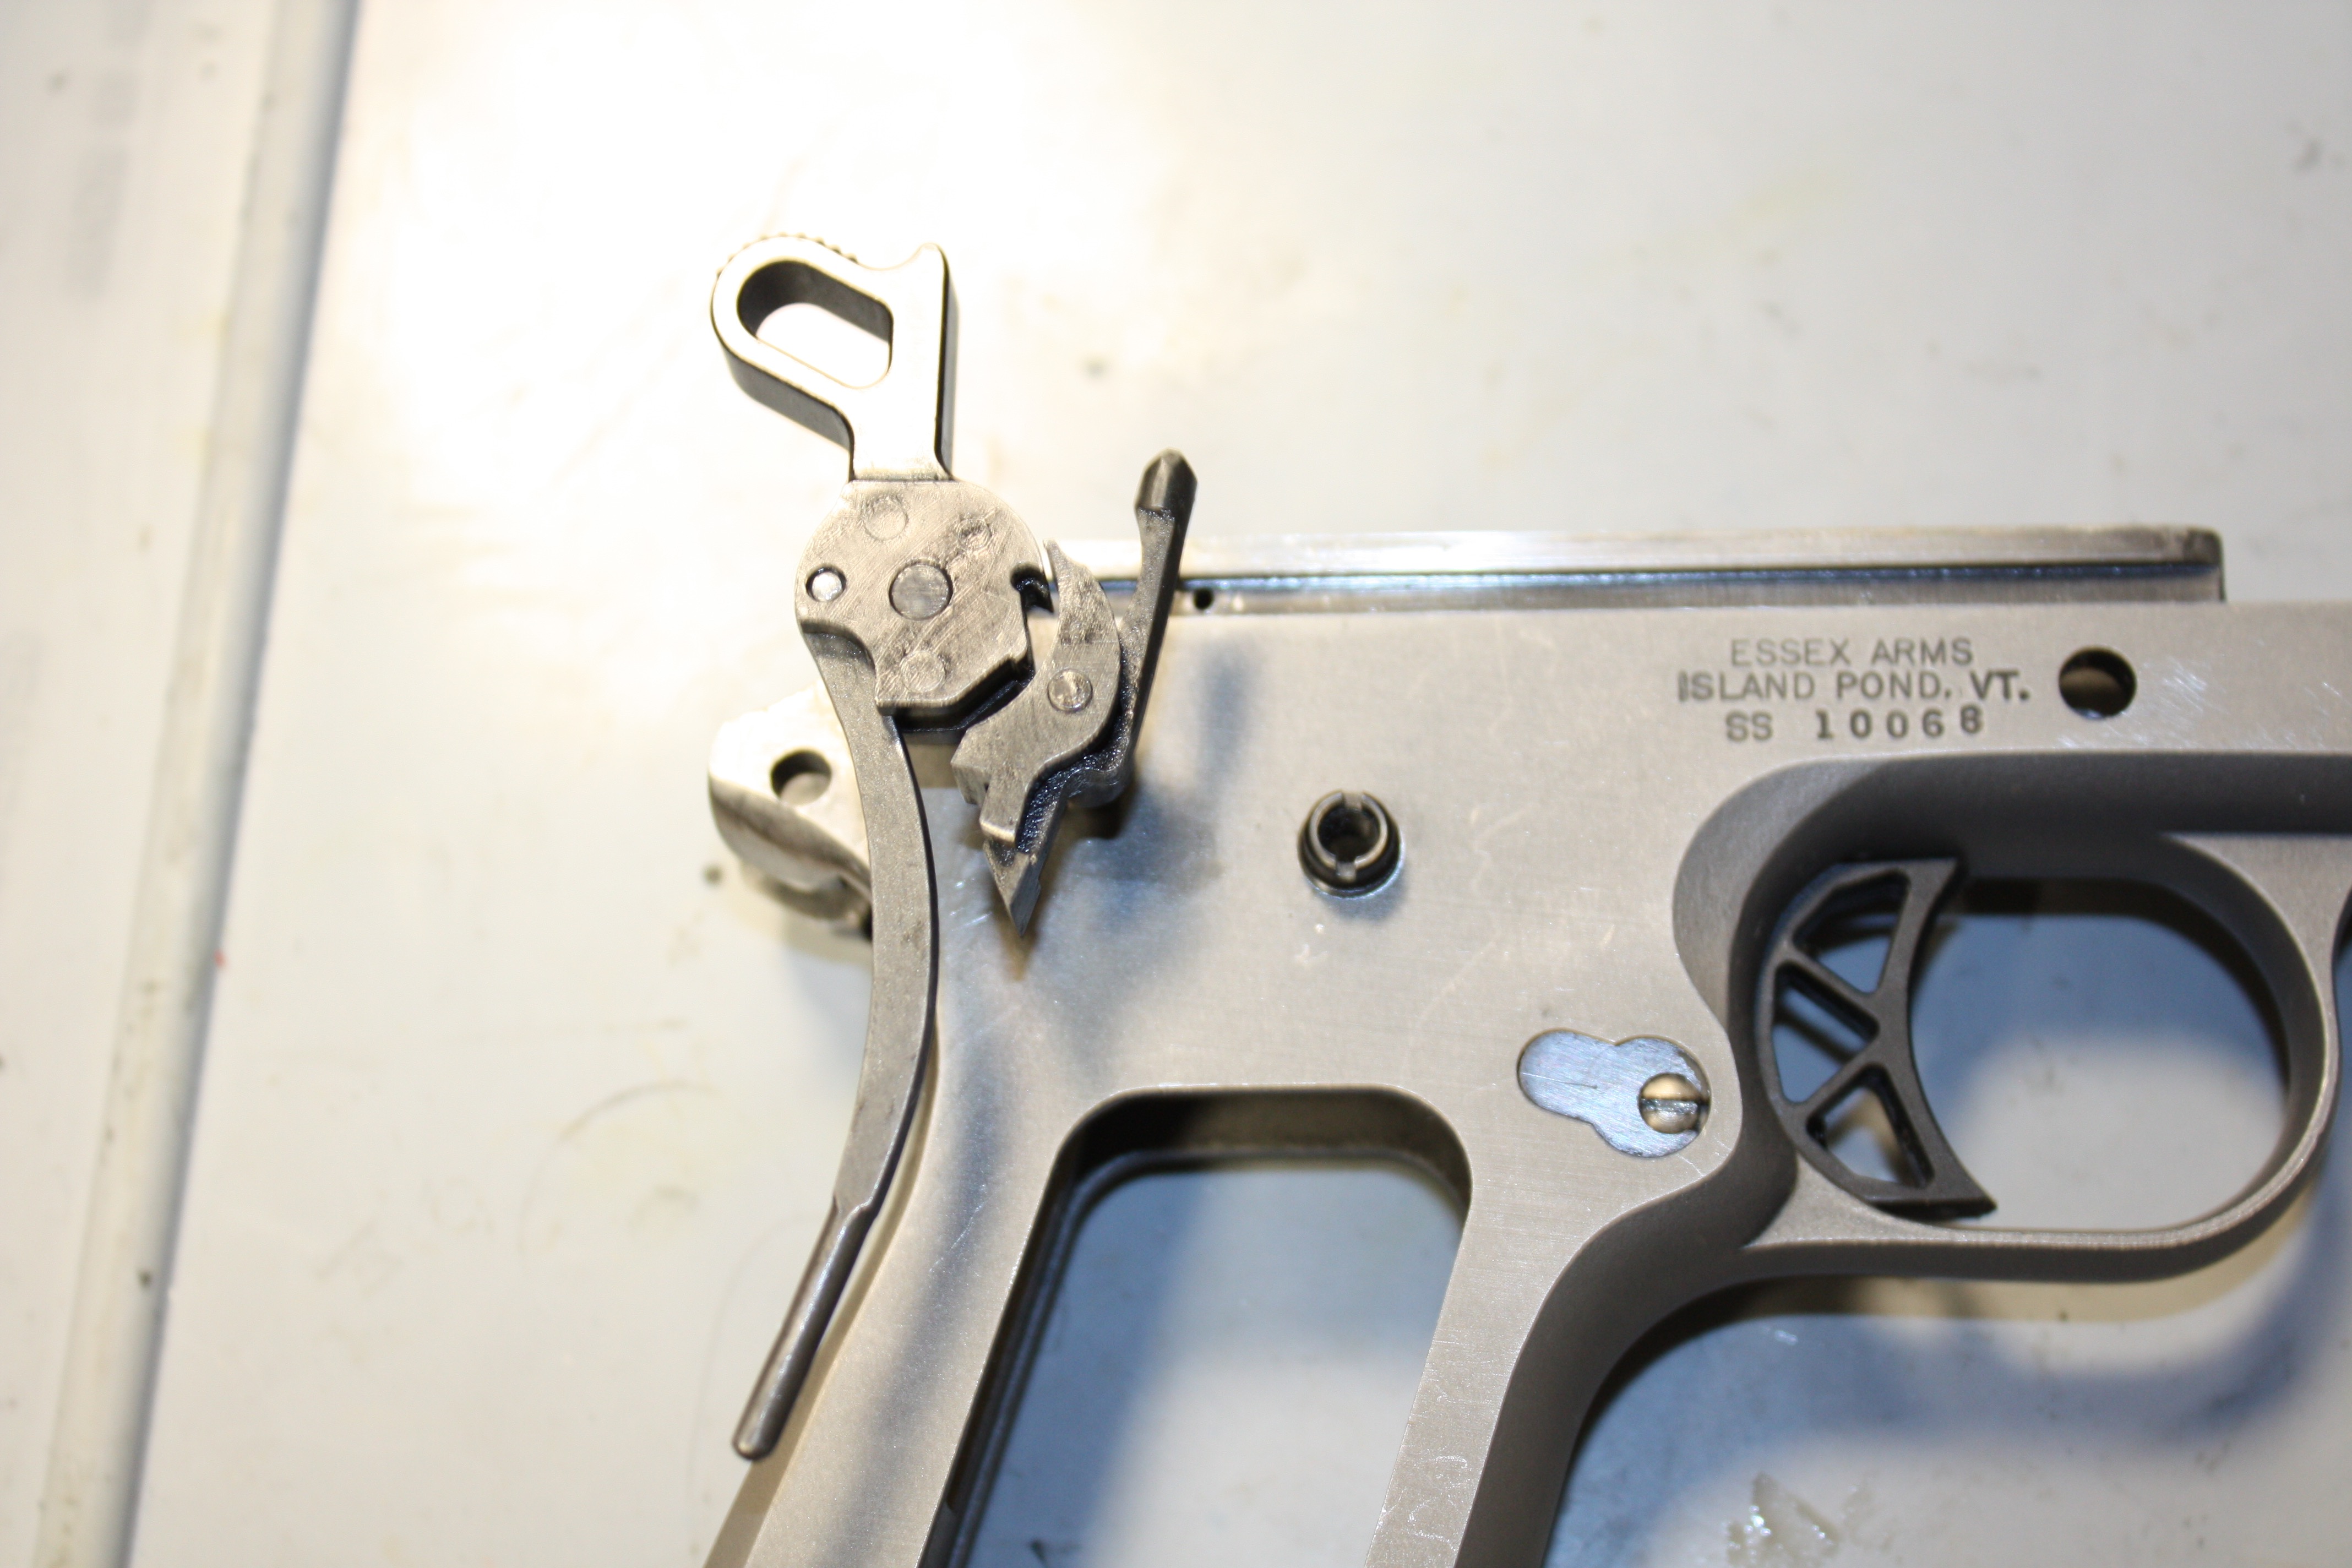
Polishing the sides of all firing-control components such as the hammer shown above will reduce friction, which is a contributing factor to a crisp trigger pull.
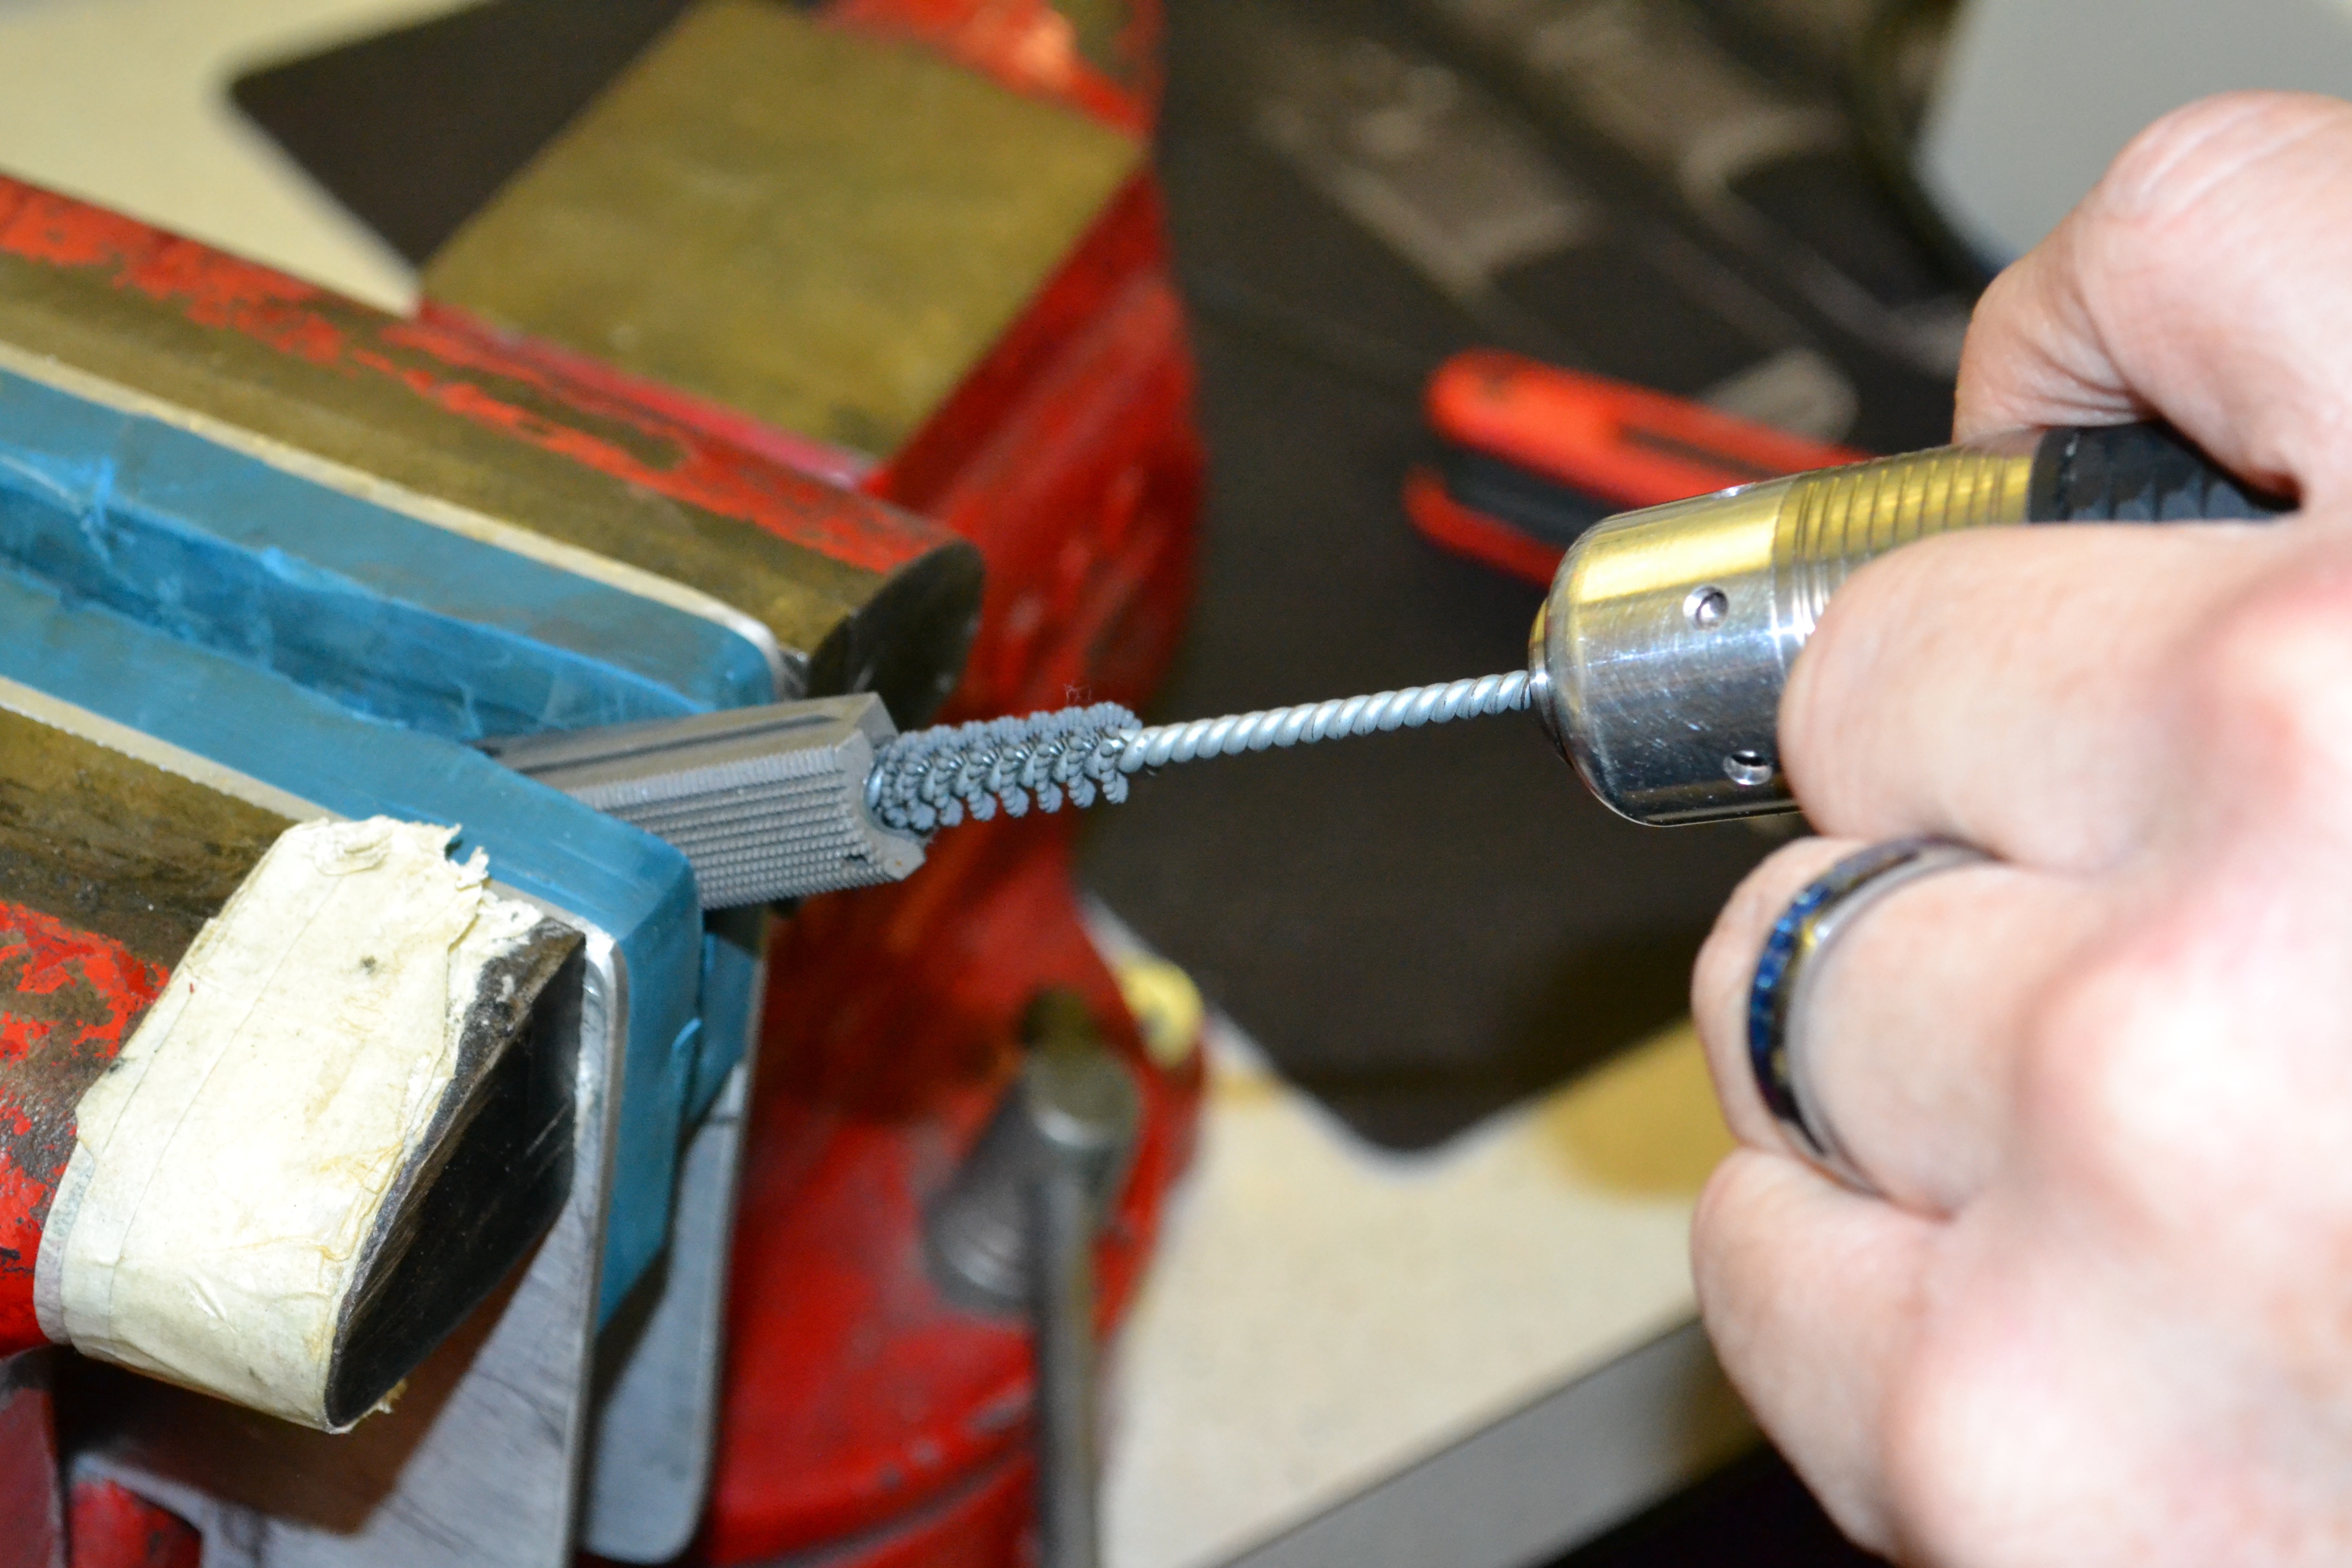
Does that mean you should polish inside the frame as well, where the parts will reside? It couldn’t hurt. If nothing else, chuck a deburring wheel in you a Dremel and lightly go over inner area of the frame at low speed. Gary Smith also suggested putting the mainspring housing in a vise and polishing the inside of the mainspring housing channel using a Brownells Medium Mainspring Housing Hone chucked in a drill. After looking down inside the part I bought, I immediately saw why. The inside of the housing looked as though it was cut by a coarse drill bit that left a ton of corkscrew-shaped tool marks behind to impede against the mainspring cap. Adding oil to the hone helped to smooth out the area.

Heavy tool marks on the inside of the mainspring housing can contribute to a cruddy trigger pull. Honing the inside quickly remedies the problem.
Taking such collective measures to reduce friction against the parts is an easy way to improve a 1911’s trigger pull without the potential pitfalls that come with modifying hammer or sear geometry. Regardless, there are those who consider this a mere “fluff-and-buff” trigger job for that reason. Rather, the reality is it’s a series of steps toward getting the trigger pull you want without opening yourself to damaging parts or compromising safety. However, the next entry will be for the geometry-obsessed tinkers out there, in that it will cover a way to address those angles safely.


