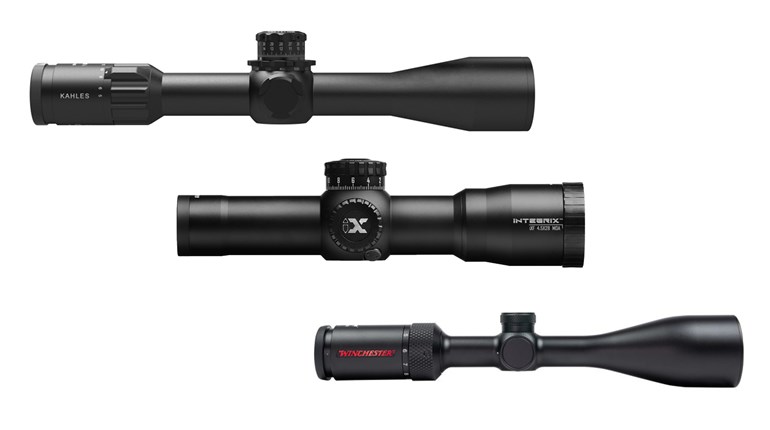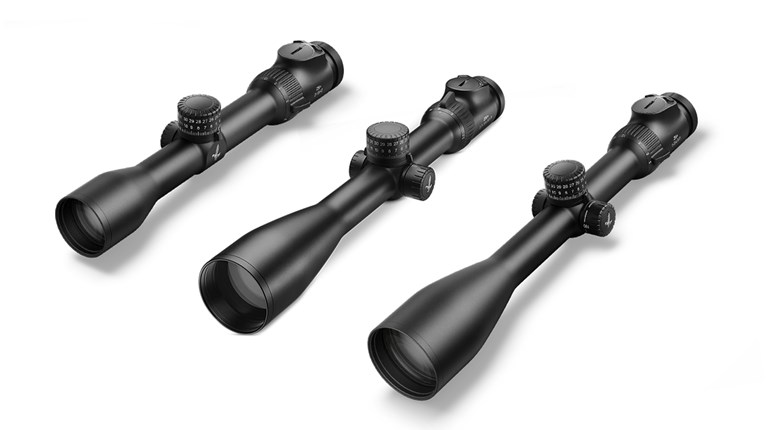
Accurate rifle shooting results from a combination of the shooter, firearm, sighting system and ammunition working together correctly. Our tendency when setting up a rifle for maximum precision is to use a magnified optic in order to better see our targets and the scope’s reticle placement. But, that does not eliminate unmagnified sights from the accuracy realm. Many an amazing shot has been made with reflex or red-dot type optics. My own experience is that exceptional red-dot accuracy is achievable with a little practice and the application of a helpful trick or two.
1. Reticle Type
Electro-optical sight reticles are available in several forms. Common examples include dots, hollow circles, crosshairs, chevrons, triangles, hash marks and combinations or multiples of these. All have strengths and weaknesses, but any of these reticles can be maximized to help you shoot well. Dots and open circles are easy to see and center naturally. Circles, triangles, chevrons and hash marks often correspond to a specific target size, and function as rudimentary range-finding tools. Crosshairs allow you to “quarter” a target to help center your point-of-aim. Hash marks provide aiming points for targets beyond your zero distance. My eyes acquire dots the fastest, but pointed shapes give me the best references for fine aiming. Some electro-optics are notorious for having imperfect reticle shapes—such as “dots” that are actually bean- or star-shaped—but these too can be used for more precise aiming. When I encounter an odd-shaped reticle, I zero to its finest point, even if it is off on one side or the other. At close distances, when rapid acquisition trumps having a tiny aiming reference, the off-center condition does not hamper my shooting. At longer ranges or when shooting at smaller targets, this finer part of the reticle allows placement against a specific point on my target more clearly.
2. Brightness Settings
Turning electronic sight rheostats to their brightest positions makes reticles easier to acquire quickly. That makes sense for close targets that typically present the greatest threats, but when you have the luxury of slowing down, reducing that illumination level will provide a finer aiming point. I find that dialing down my rheostat to the point where the reticle is barely visible against my target produces better accuracy. Your lighting conditions, eyesight and reticle style will dictate what your own requisite level of illumination is. As brightness goes up, aiming points tend to wash out the target image, especially if they are prone to “bloom” as more light exaggerates an imperfect reticle shape. I can also attest to the fact that worsening eyesight impacts the level of reticle brightness you can tolerate. Astigmatism and other vision problems can transform distinct dots into glowing blobs, making fine aiming much more difficult.
3. Reticle Size
When selecting a sight with no magnification, achieving a balance between ease of rapid sight acquisition and having a fine aiming point is challenging, but not impossible. Reticles with dots or aiming points around 2 minutes-of-angle (MOA) or less are easier to aim precisely, but harder to acquire quickly in a pinch. Fortunately, they can often be made bright enough that the same bloom effect hampering precise aiming makes the reticle appear larger at high-illumination settings. Larger reticles do not necessarily rule out fine aiming; they just require a variation in normal aiming techniques to use with precision. The triangle and chevron reticles used by Trijicon are good examples. A 12-MOA triangle that covers 12.57 inches at 100 yards may seem unsuitable for any target smaller than a house, but the reticle’s pointed tip will serve as a precise hold point. Large dots are trickier to use accurately, but they are still in the game. I use the 12-o’clock portion of a big dot’s edge and zero it at the appropriate distance. That way I can still see my intended targets above the edge. If I need to shoot a small target or a tight group, I hold this edge just below my intended point-of-impact (unless holding over for distance) and it works out pretty well. For close-in work, I just place the dot over my target normally.
4. Power Source
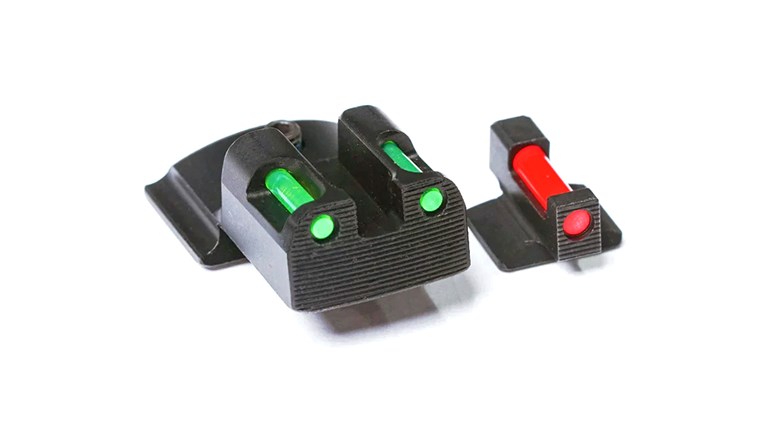
Non-magnified optics that function without batteries are quite handy, but these sights have some limitations, too. In very bright conditions—such as midday sun— fiber-optic-equipped reticles can wash out a target image. A small piece of tape placed over the fiber portion of the illuminator on bright days helps to dim things down a bit. Unless these reticles are made of wire or etched onto the glass (like traditional riflescopes) they will all but disappear in certain lighting conditions. The worst-case scenario is when using a weaponlight at night, where ambient conditions are not bright enough to power fiber optics, and tritium elements cannot overcome white-light-illuminated targets. While mounting a weaponlight closer to the optic helps somewhat, such sights are still difficult to use in limited-visibility situations.
5. Magnifier Compatibility
Magnifiers that mount behind red-dot and reflex-type sights do a great job of bringing our target images into greater detail. Unfortunately, they also magnify our aiming reticles, flaws and all. If your electro-optic’s aim point looks like a small star normally, it will turn into a full-blown explosion under magnification. Here again, isolating a small piece of the reticle to use for zeroing and precise aiming will help work around the problem.
The current rifle-sight market offers a wide variety of great aiming options. Although I still prefer the great flexibility of variable-power scopes, red-dot and reflex sights are smaller, lighter, simpler and often less expensive. If your shooting is geared more heavily toward closer ranges with only the occasional need for distance, you may well be able to get the job done with a non-magnified, electro-optic.


