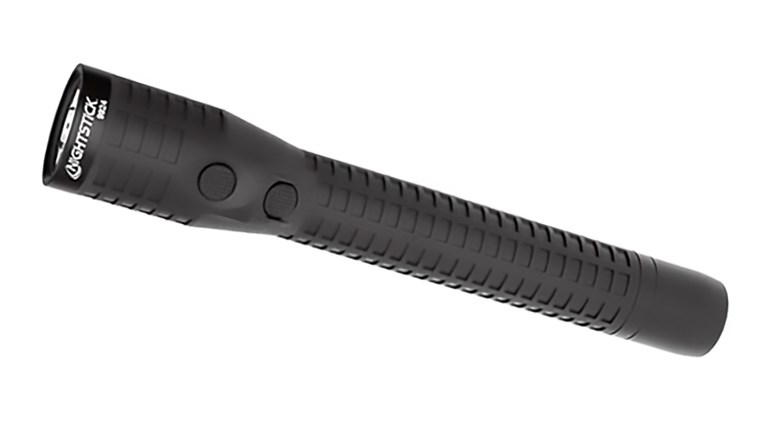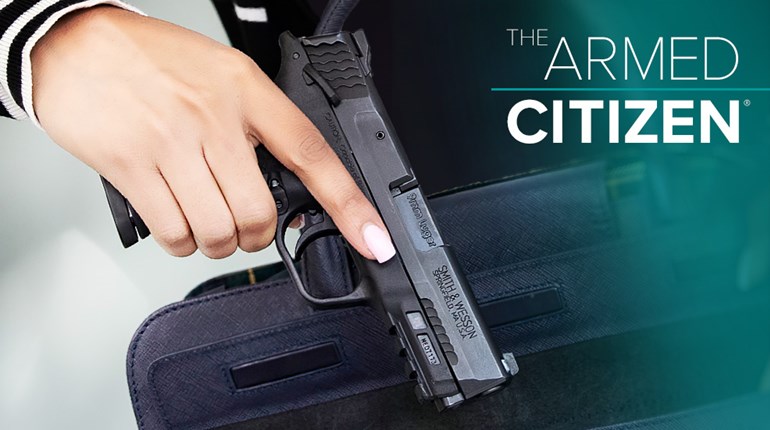
When putting together an everyday-carry or personal-defense kit, it’s important to have the tools necessary to deal with the most likely scenarios faced on a daily basis. An obvious reality of our world is the fact that at least half of each day is shrouded in darkness or low-light conditions, so knowing a few flashlight techniques for concealed carry is a must-have skill set.
Dark corners exist in every building, street, hallway in our country, and there’s a very real chance that criminals could take advantage of these low-visibility times and use them to attack unsuspecting passersby. Those with a preventative mindset would do well to pack a flashlight that provides as many lumens as they’re willing to carry, as well as learn to use these lights in conjunction with a firearm.
At Gunsite Academy, world-class instructors like Chief Operating Officer Ken Campbell and Training Director Dave Hartman run students through several different techniques in flashlight use, and these techniques are tested in live-fire conditions. I ran through several training scenarios, including a shoothouse and an outdoor setup, with Kimber America, using the company’s guns and a SureFire E1D Defender flashlight. Here are a few techniques I learned:

Harries Technique
This technique is one of the most popular taught at Gunsite and is named after Michael Harries, a firearm instructor who developed this method in the early 1970s for use with large-body police flashlights. The technique is also well-suited for small EDC lights and provides a number of benefits for shooters.
To employ the Harries Technique, wrap your support hand around the body of the light, with the thumb on the tailcap switch. With a pistol drawn, move your support hand underneath the magazine well of your concealed-carry firearm, raising it up with arms crossed at the wrist and the backs of both hands pressing solidly together.
This technique has the benefit of providing extra stability in what would otherwise be a strong-hand-only grip that wouldn’t be as secure. However, a potential downside exists in that an armed attacker will most likely fire at a light source, which sits directly in front of the face of those who employ the Harries. This can be mitigated by a pressure-activated momentary-on light that doesn’t remain illuminated while a user is moving.

FBI Technique
As the name implies, the FBI Technique is taught to and employed by agents of the Federal Bureau of Investigation, and it is a solid option for concealed-carry holders and home defenders needing a flexible, easy-to-use flashlight method.
The FBI Technique is employed by grabbing a flashlight with your support hand, wrapping the palm and fingers around the body of the light with the thumb on the tailcap. The hand is then extended out from the body, high and to the left of the support shoulder, angling the light toward the target. This method can be deployed in different distances from the body, bending the elbow slightly to adjust distance or conform to interior spaces.
A benefit of this method is that it places the light source far away from the body. In the case of an armed attacker or home invader firing shots at the source of the light, these shots are likely to miss the user entirely or at least impact a non-vital appendage. However, holding a light high off the body can lead to increased fatigue, and users have no added support for their firing grip.

Neck-Index Technique
The Neck-Index Technique offers a bit more support than the FBI Technique, due to the fact that this method allows the user to brace a light in the natural corner created by the intersection of the neck and the shoulder. Users must hold the light the same way as in the previous two techniques, with the thumb on the tailcap switch.
This is a great method for those who are stuck with a handgun that is not equipped with night sights. The Neck-Index allows the light to fully illuminate the sights from the rear while still providing enough illumination to clearly identify a target. Unfortunately, like the Harries, the Neck-Index Technique puts the source of the light near vital areas of the body, possibly putting the user at risk in an encounter with an armed threat.

Rogers (SureFire) Technique
Developed by former FBI Agent Bill Rogers, the Rogers Technique is also known as the SureFire Technique, due to the number of SureFire flashlights that are specifically designed for use with this method. While the technique can be used on nearly any flashlight, it is best used on lights that are equipped with a combat ring, due to the unique hold required.
To employ the Rogers Technique, place the body of the flashlight in between your middle and index fingers of your support hand. The light can be turned on and off by grasping the body fully, pressing the tailcap into the palm of your hand. On lights equipped with a combat ring, the ring provides a bit more leverage for actuating the tailcap mechanism.
Once the light is secured in your support hand, bring the support hand up to the support side of a drawn firearm, wrapping your ring and pinkie fingers around your strong hand and placing the support-hand thumb up against the strong-hand thumb.
This technique is intended to provide as close to a two-handed grip as is possible while employing a light in a user’s support hand, but this method can be difficult if used on lights that have a recessed tailcap switch or are not equipped with a combat ring.
No matter which technique you choose to employ, pick one and practice with it, because it might just be the extra edge you need to survive in a defensive encounter.


