Having successfully made the journey from a box of parts to an actual-firing 1911 with near total reliability, only a handful of aspects need be ironed out before sending the pistol off for its final finish.
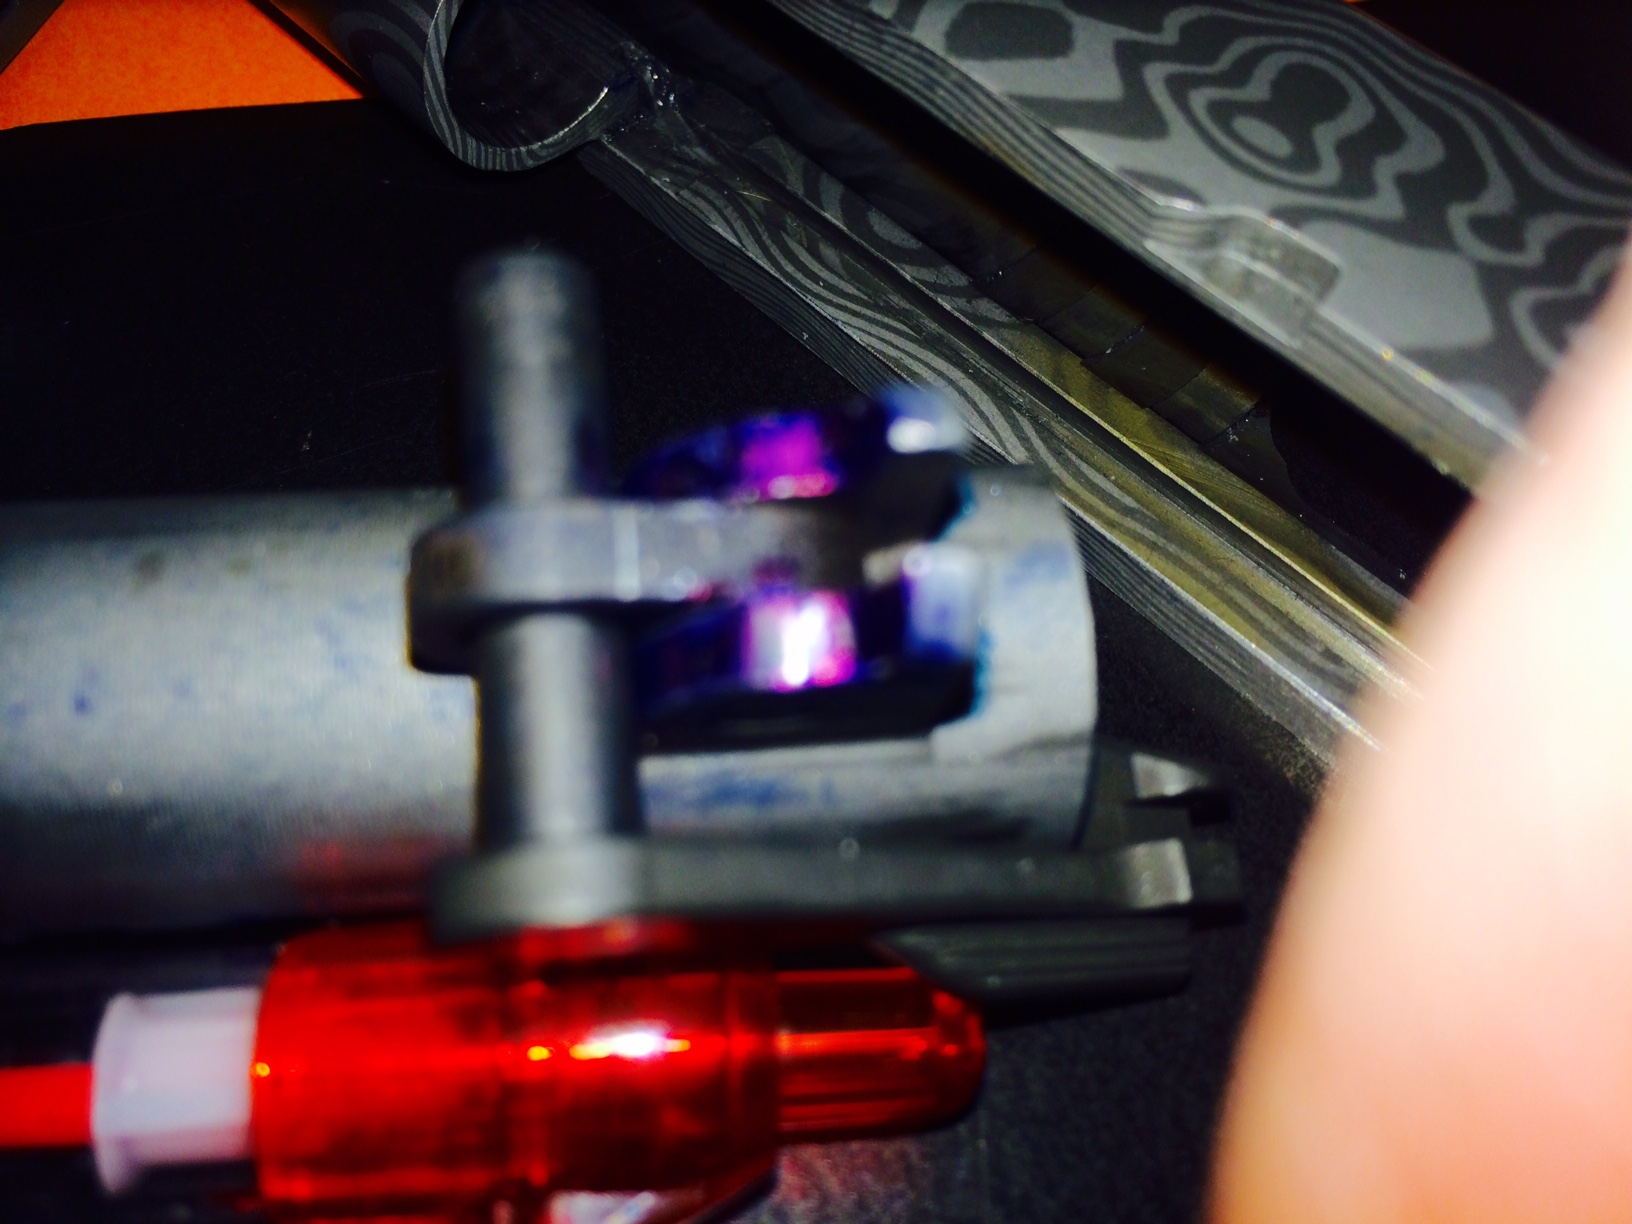
Chief among them was the elusive culprit that was causing the barrel lockup to be binding slightly when pulling the slide back. While the slide-stop pin showed signs of equal weight distribution, inking the lower feet of the barrel revealed contact on one right side, but none on the left. Perhaps the hood was a tad too long, or the feed ramp require more polishing? I debated over removing metal from the feet, but the instructions from Kart say it wasn’t necessary. (I was at a point where one file stroke too much and I would destroy two years’ worth of work.)
Second, despite having a working grip safety, the edges where the beavertail joined the upper and lower frame tangs still needed minor blending. Again, this was one of the areas where due to the minor amount remaining, given my lack of fine motor skills due to my disability concern of a file or dremel slipping at the wrong moment and sending me up the creek kept entering my mind each time I sat down at the bench to work on it.
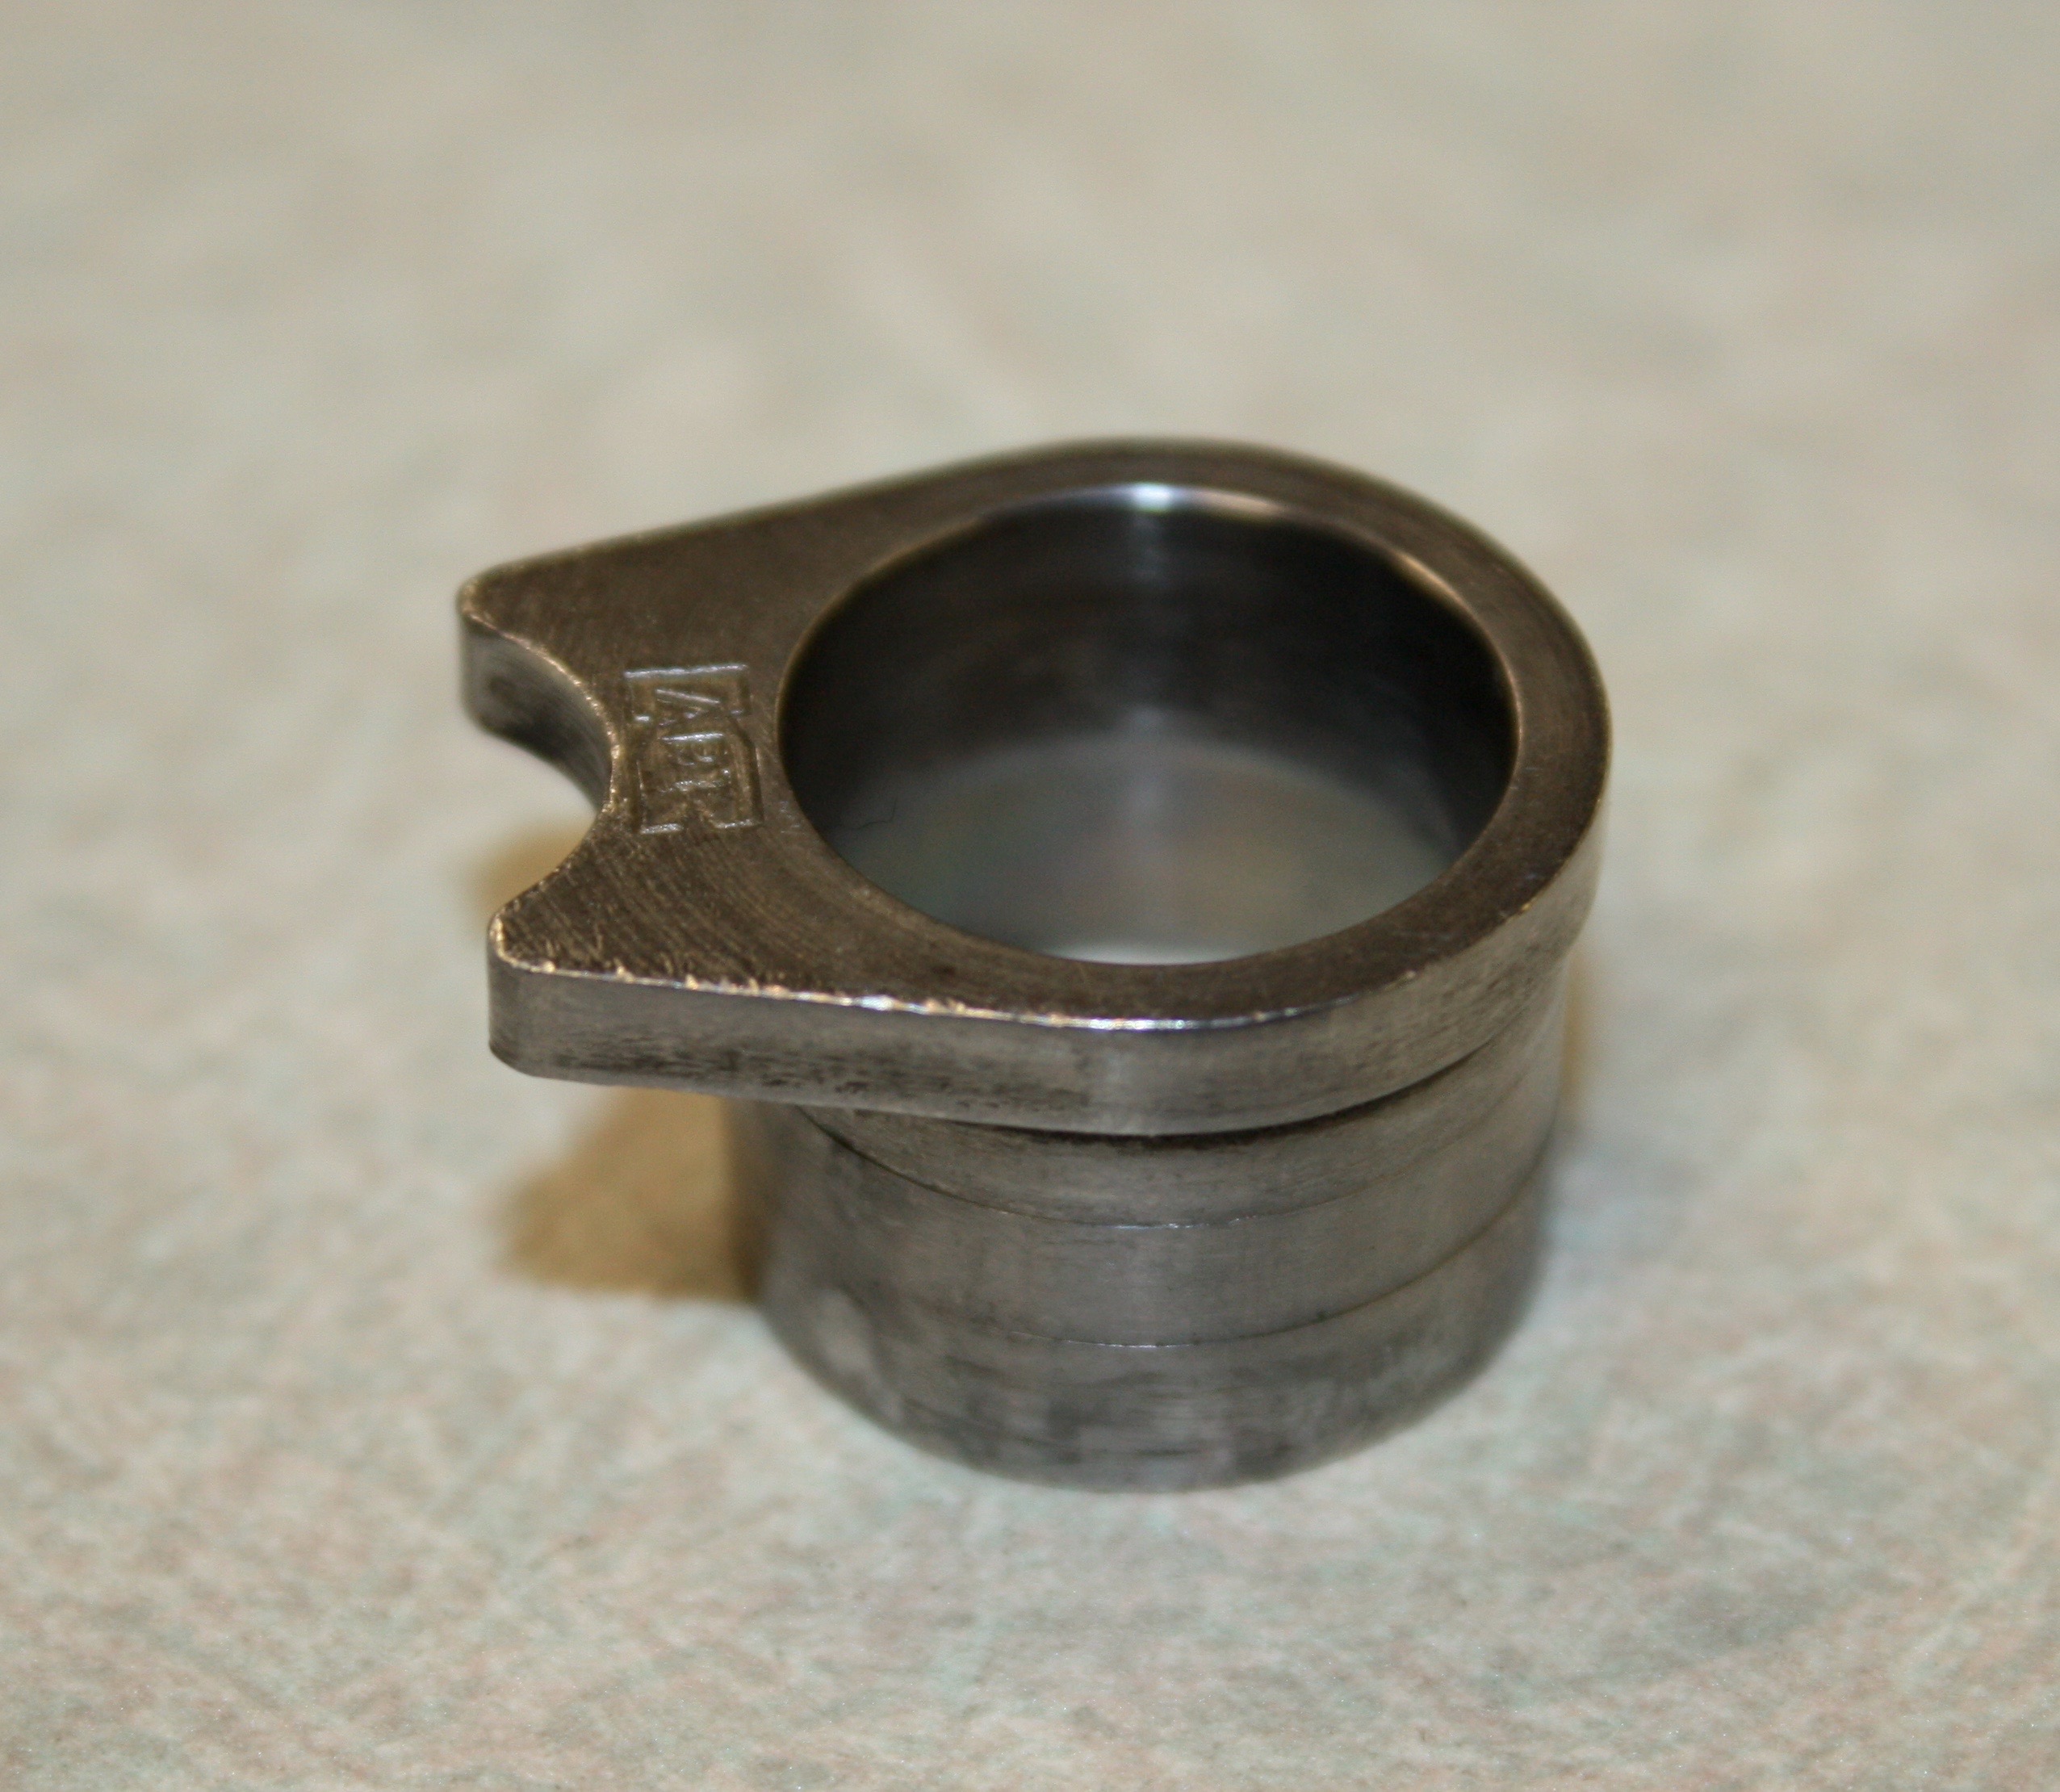
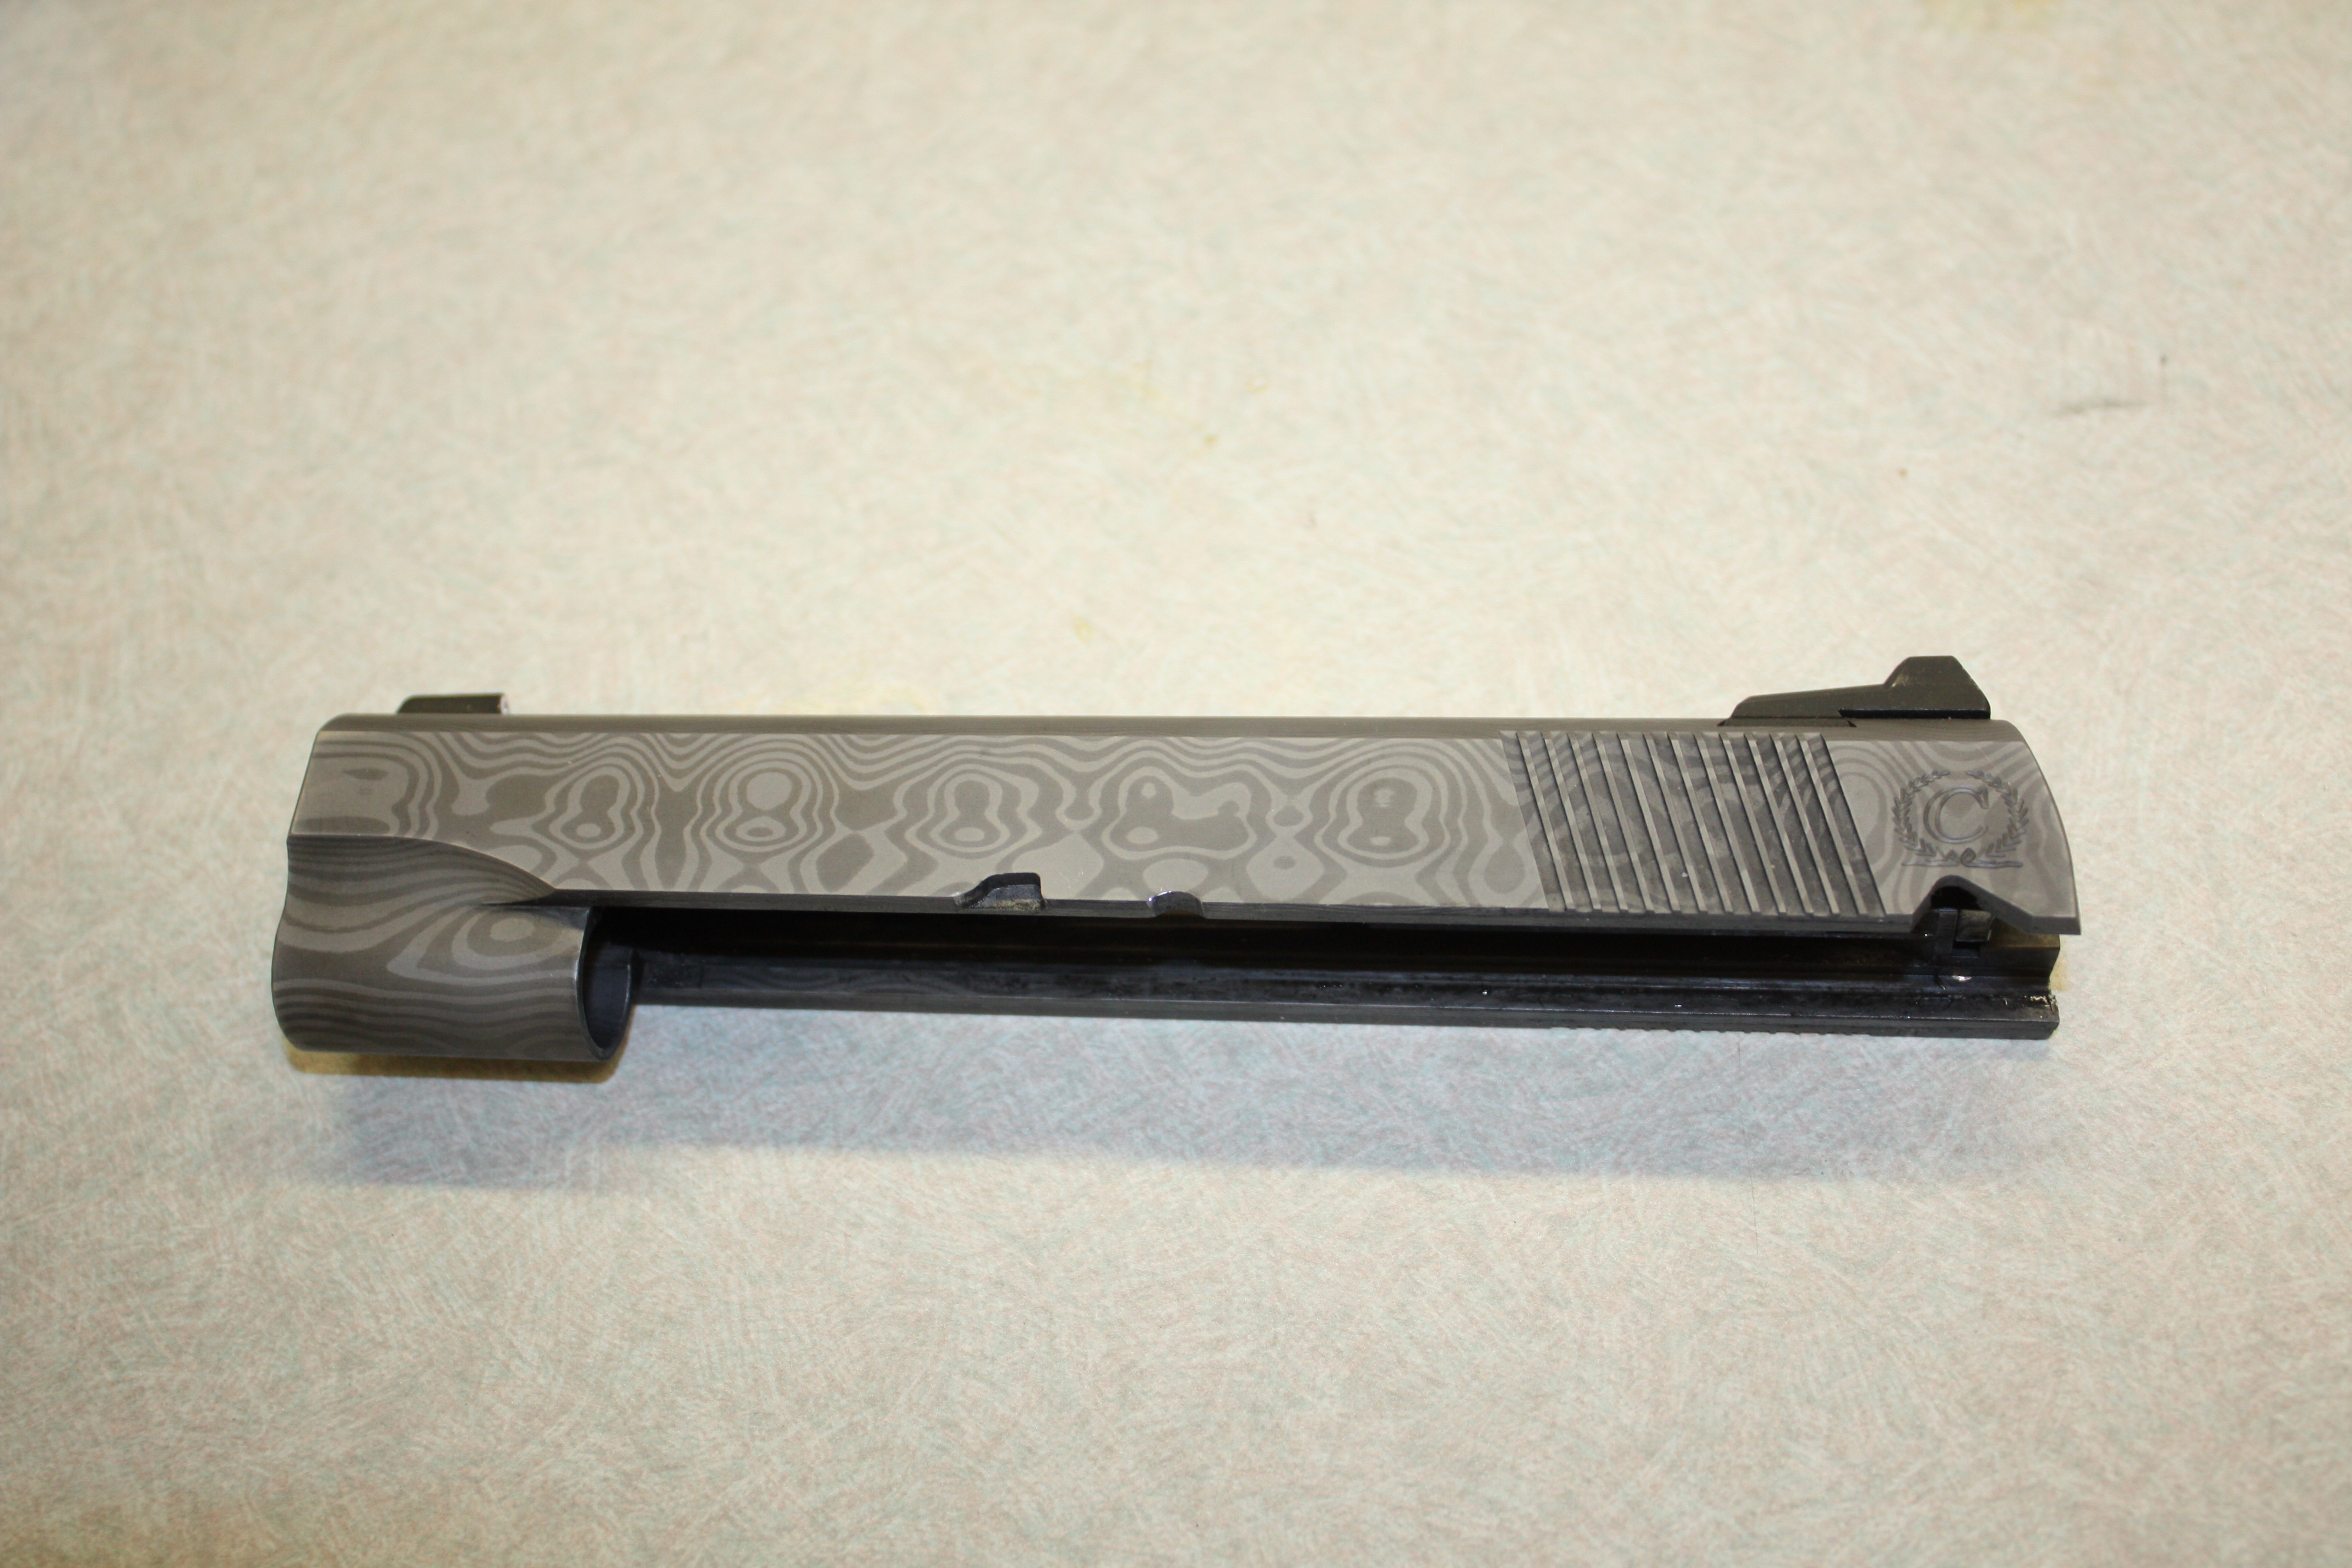
No matter how much sanding I did on the interior of the barrel bushing it still fit too tight in the slide, so tight removing it required use of a metal wrench (which left loads of scratches along the bushing’s exterior) and requiring prying it loose and subsequently gouged the muzzle end of the slide. Unfortunately, those weren’t the only battle scars the once-beautiful Damascus slide suffered throughout the building process, and I didn’t know an easy was to remove them, or if I was stuck with them.
A conversation with Tony Bellione of Maximus Arms convinced me that I had taken the build as far as possible. Having fulfilled my goal of building a functional 1911, it was time to send it to the professionals to check my work and fix any remaining minor nuances/problems. Fortunately, Maximus Arms not only produces custom 1911s for the commercial market, it also accepts pistols for custom builds. And that’s exactly what the delivered.
Bellione’s perfectionist-oriented protégé, Ryan, did exactly what I requested, and more. By re-cutting/polished the feed ramp and turned down the slide-stop pin (which turned out to be binding as the cause of the binding, as the pin was slightly oversize). He also gently melted the pistol’s edges, completed fitting the grip safety, finished blending the edges of the thumb safety fit a new trigger and tweaked the sights. Lastly, Ryan cleaned and re-etched the Damascus to get rid the scratches the slide incurred.
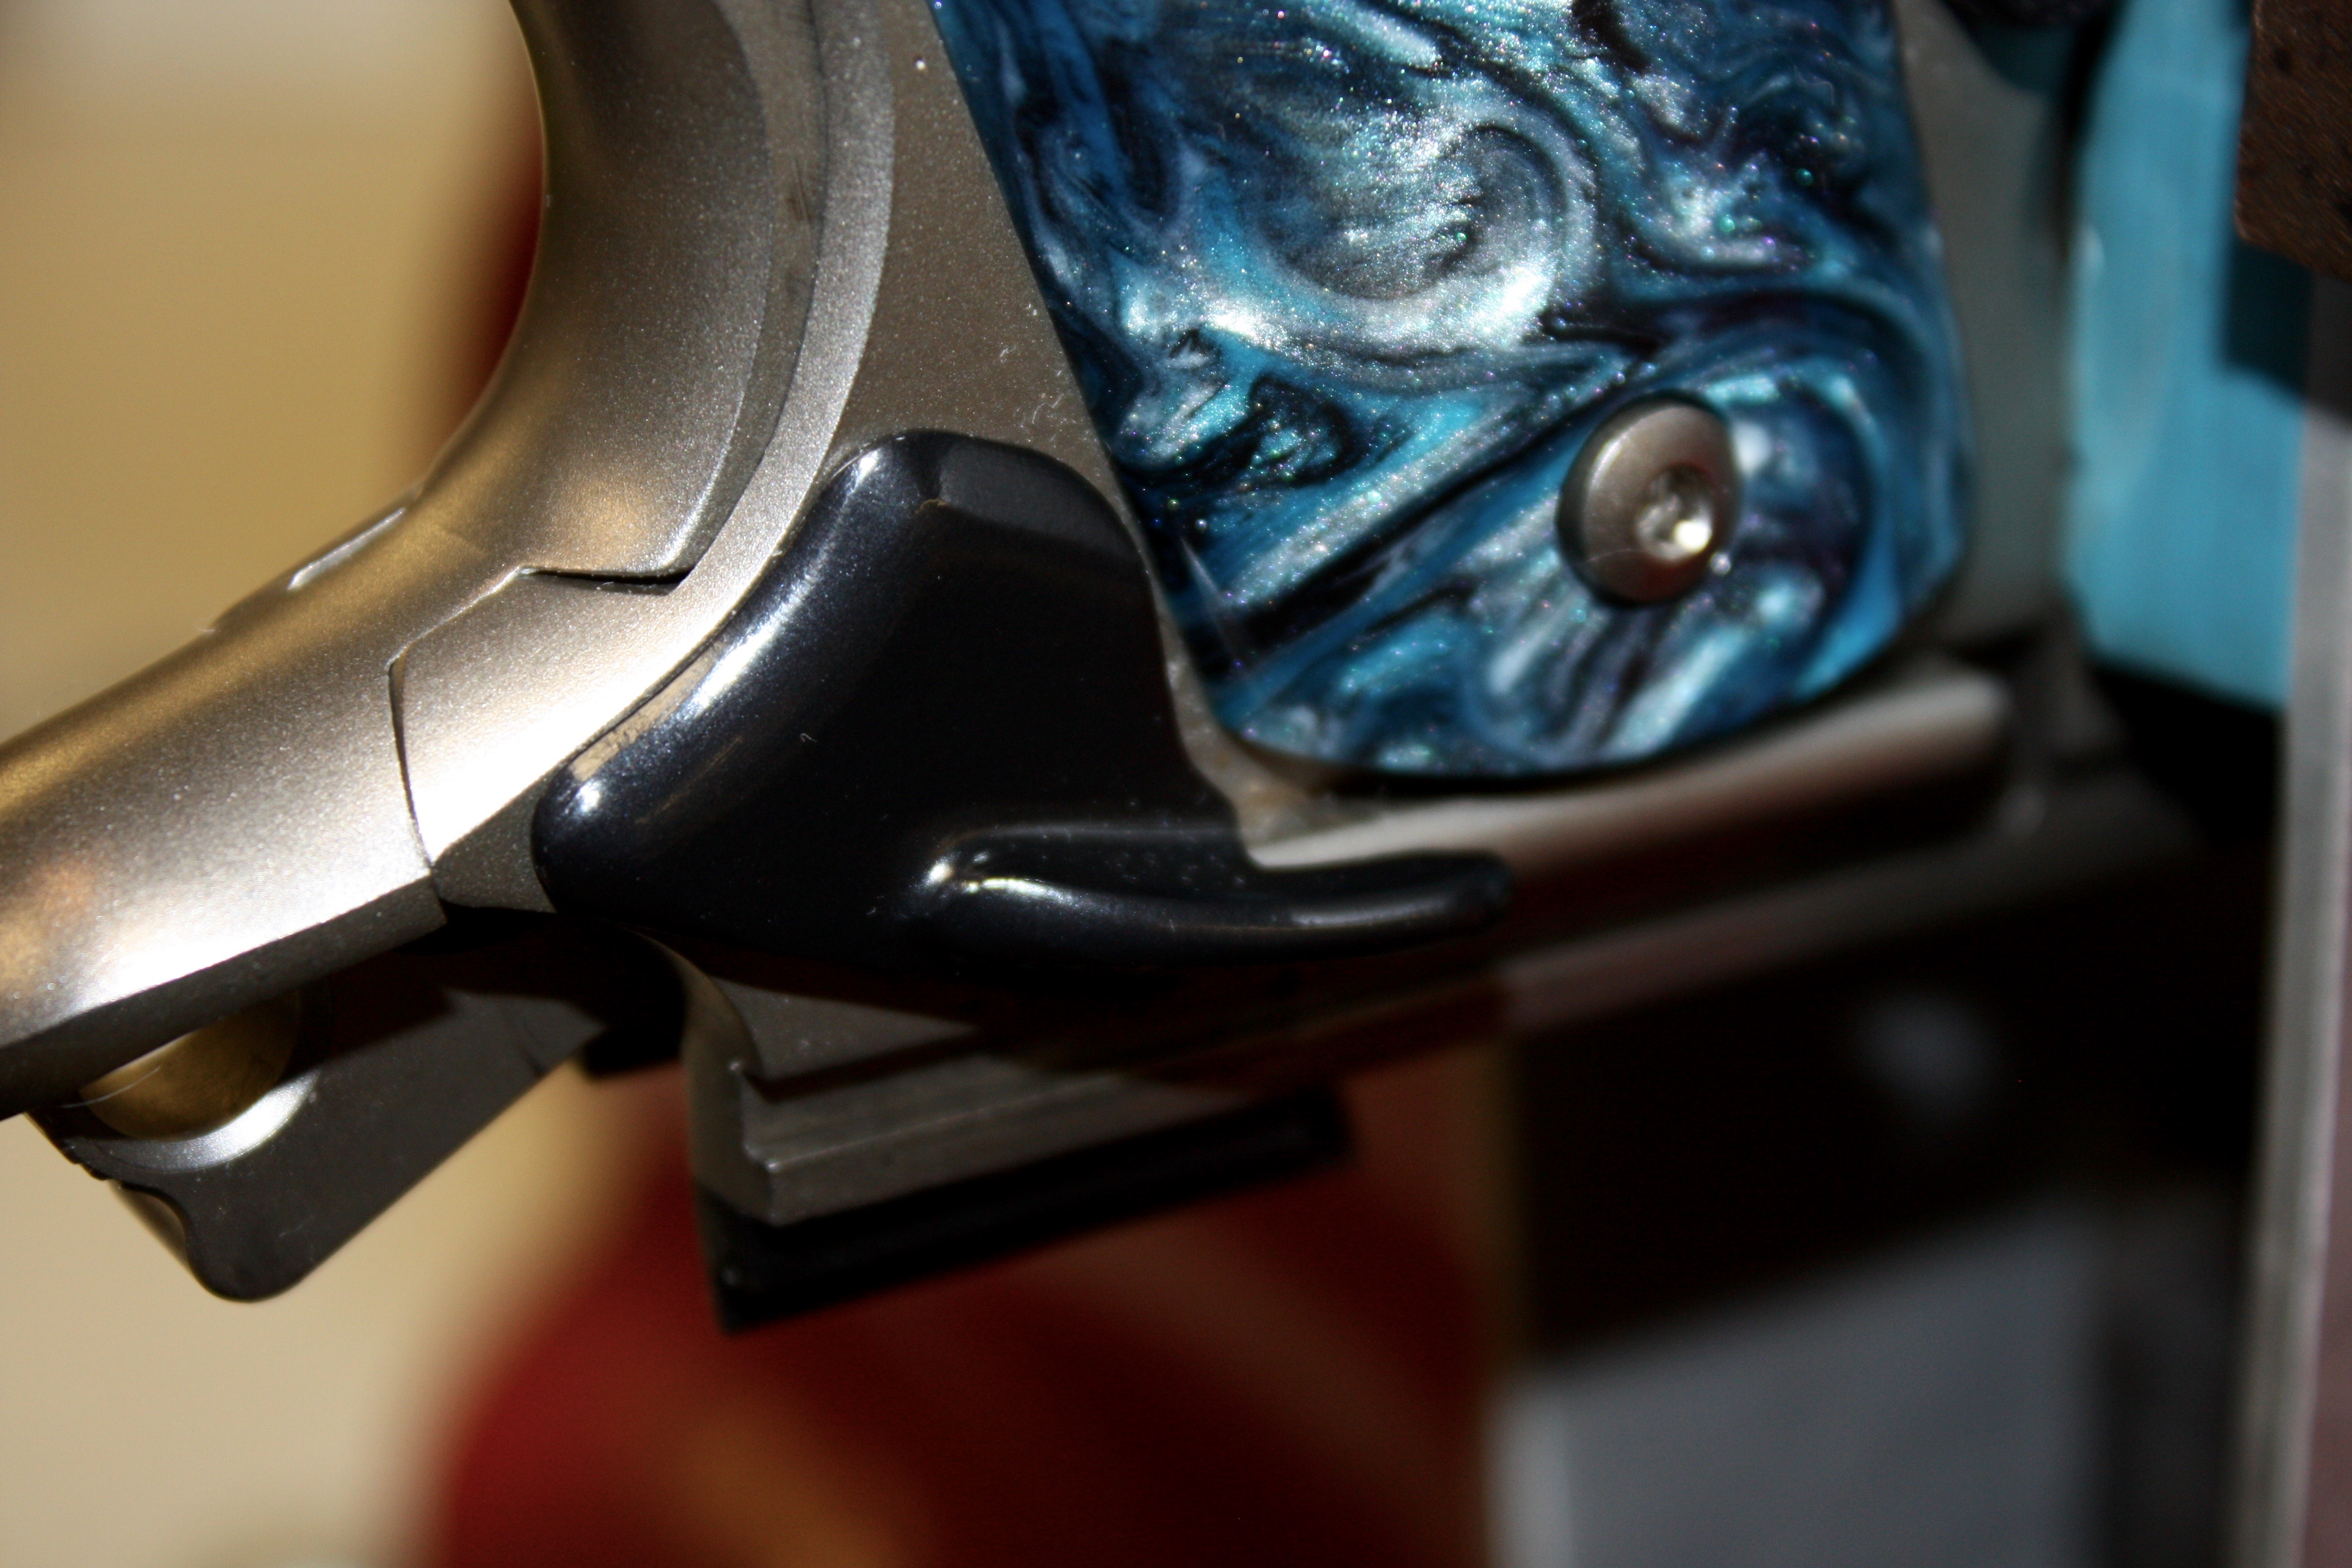
Upon its return, the pistol was satin-smooth and devoid of sharp edges—with the exception of the checkered frontstrap. Edges were also melted on the frame tangs, to the point that both the grip safety and thumb safety looked and felt as though they were molded to the pistol. Such expert fitting and the perfection of line work, is yet another example of the acute degree of craftsmanship that goes into every pistol Maximus Arms produces.
But looks aren’t everything. The first indication this pistol’s hand-built can be felt and heard. Not only does the slide feel like it’s gliding on ball bearings when being pulled rearward, it’s virtually silent, and the traversing across the disconnector is nearly unperceivable.
The expert touches added to my pistol by Maximus Arms ironed out its remaining bugs while giving it that coveted custom look. If you have a 1911 you'd like to take to the next level, look no further than Maximus Arms.
In the next entry, I’ll discuss finishes, and my reasoning for choosing behind them.


